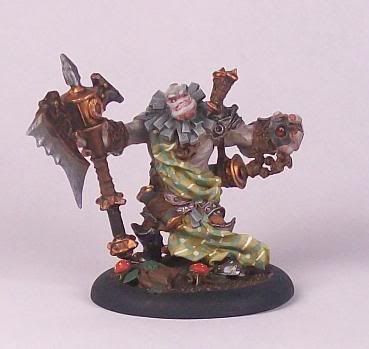
Well I finally have painted my first couple of Trollbloods- an army I've been anxious to get my brush on for some time now. You have to love these sculpts...full of power, character and humor!
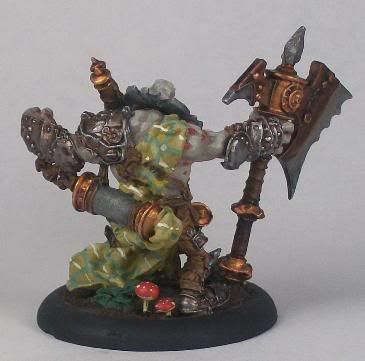
Madrak is a great figure who, of course, is an "albino" Trollblood. I love the stone, metal and leather details that Privateer put on this guy. This was my first time doing a tartan- and that was a challenge. I pretty much followed the guide in the Forces book for painting it, although I scrapped my first try and started over.
The bases for my first two Trollbloods are fully customized. I used carved sprue for the plant and green stuff for the other details(mushrooms, logs, vines & leaves). I wanted a whimsical, decaying forest theme.
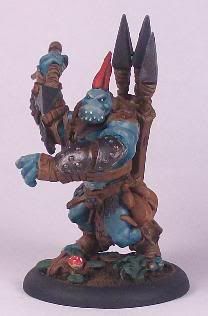
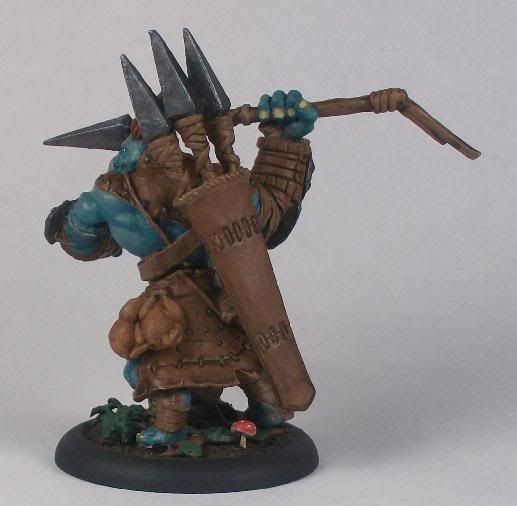
The Impaler has a classic Trollblood Blue coloration and I used the studio models as mu inspiration. Note the turkey(s) hanging from his belt! I find trollblood eyes a little tricky...but I have discovered that "less is more" is the key when it comes to their eyes.
The leather on this guy was fun to do...some Gun Corps Brown, Beasthide, and a couple of other shades all received a wash of Reaper Brown Ink(including the metal bits).
It's in its infancy but to check out my new blog dedicated to Spartan Games' "Dystopian Wars"(a steampunk naval warfare miniatures game!) click below... http://dystopiansteam.blogspot.com/
I have a video up there showing an "unboxing" of a starter set if you are interested. I will rarely use this Warmachine blog to make mention of the other blog, but I thought I'd kick it off here for anyone interested(after all, if you like steam-driven warfare, Dystopian Wars might be your 2nd favorite game like me!).
Don't worry, I'm still primarily a Warmahordes guy....but a little diversion is a good thing!
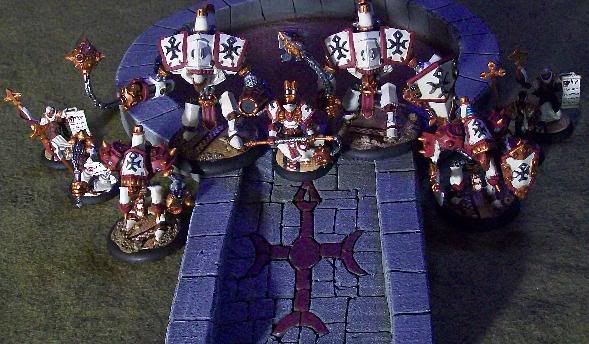
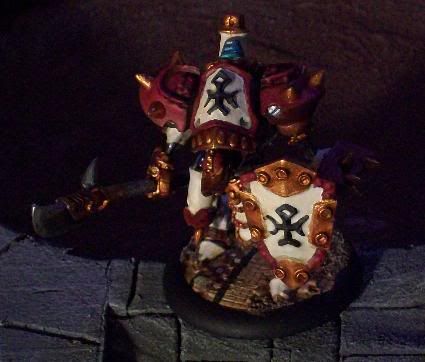
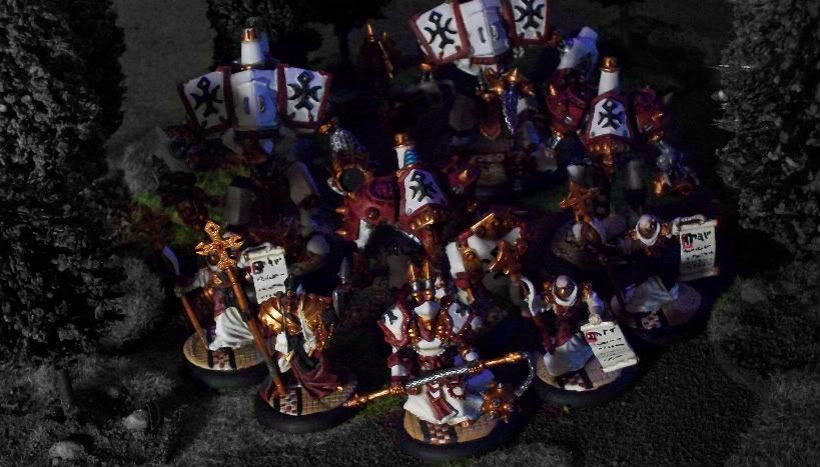
So I finally finished painting up the core of my Protectorate of Menoth starting army. Having already built a Cygnar, Khador and Merc force, this was my next big Warmachine project.
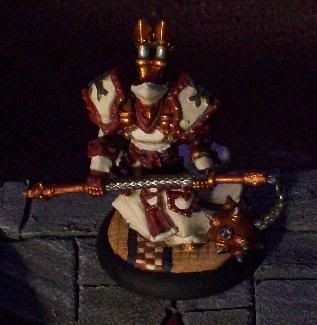
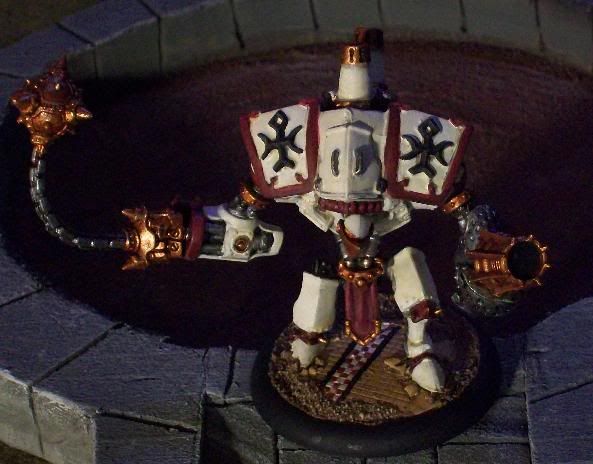
The models pictured above include the BattleBox minis(Kreoss, Repenter, Revenger, & Crusader(shown as a Templar)) with a Heavy Plastic Warjack kit added(shown as a Vanquisher) and the Choir of Menoth as well. I also ordered the box set of Deliverers, but my first Delivers box actually contained Flameguard Cleansers by mistake. I liked them so I kept them...and ordered an additional box of Deliverers(which were Deliverers!). These two units are still unpainted(and thus not shown).
A couple of things I wanted to mention about painting. First, Menoth White I found to be very tricky. I used the painting technique suggested in the Forces of Warmachine book but as I start with a light grey primer and not a black one, my white ended up being too white so I had to adjust the approach a bit
Secondly, I chose a mosaic tile pattern for the base and I really liked the result. The basing them was a partially ruined Menoth temple that was reclaimed by Menite forces(this the partial tile/rubble effect).
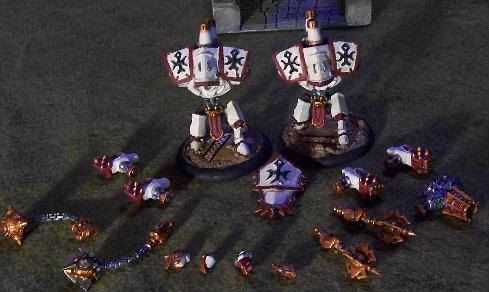
I had a lot of fun magnetizing the heavy warjacks using this tutorial made by Plarzoid at the Privateer Press forums . I highly recommend K&J Magnetics for the magnets...great website, prices and prompt shipping. At any time I can run any two of the following in a battle now: Crusader, Crusader, Vanquisher, Templar. I call these guys my "Protectorate Action Figures" because of the nice, pose-able articulation that comes with magnetizing them.
I really like the Choir of Menoth figures- another example of Privateer Press having the best mini sculpts around!
I am excited to add to this army and I look forward to fielding it of course. For now I am on to Trollbloods but all of my armies, including the Protectorate one, will continue to receive reinforcements of course.
Kreoss and company emerge from the forest, ready to deal death to the Morrowan heretics!
For a more detailed description view the video version of this Figure Feature below...
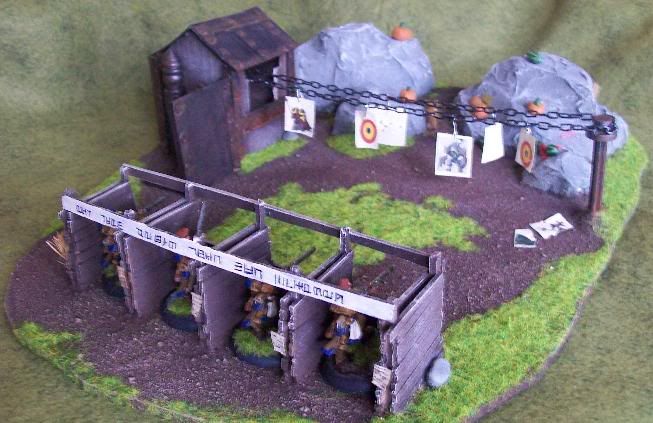
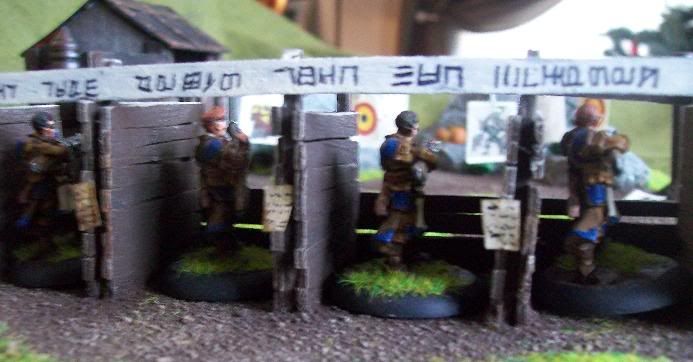
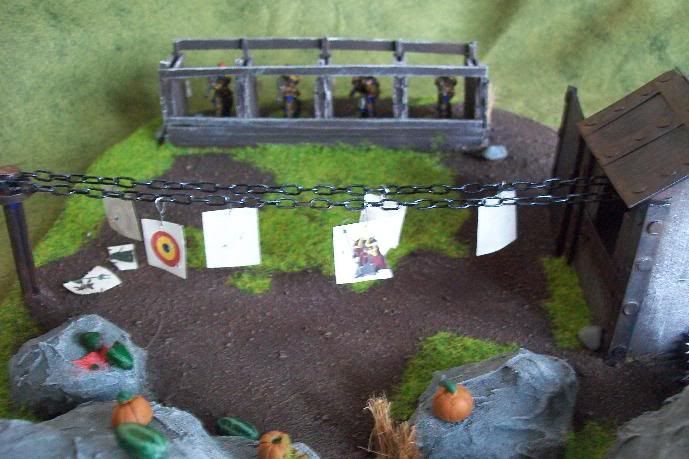
Well of course everyone knows that Long Gunners only achieve their marksmanship(RAT) with many hours of training...thus the need for the Cygnarian Shooting Gallery!
The moving paper targets depicting Iron Fang Pikemen, Lich Lords and Helljacks provide the real-world combat situation of trying to hit a moving enemy(artwork by Clayman8 and thevampiredeo)...
The words above the firing stalls remind the trainees of an important truth: "One shot could save the kingdom"...
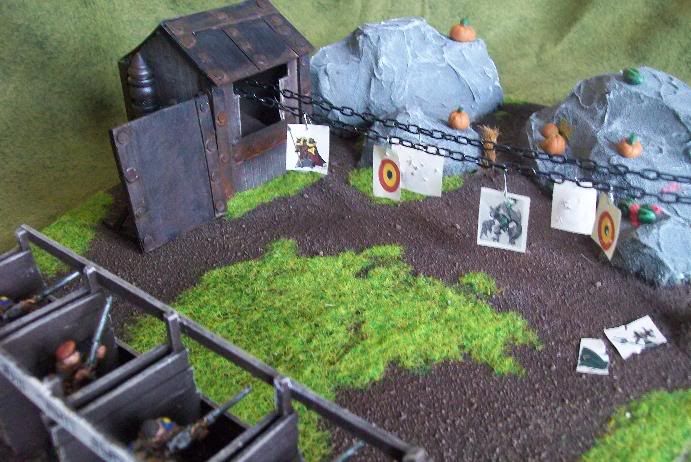
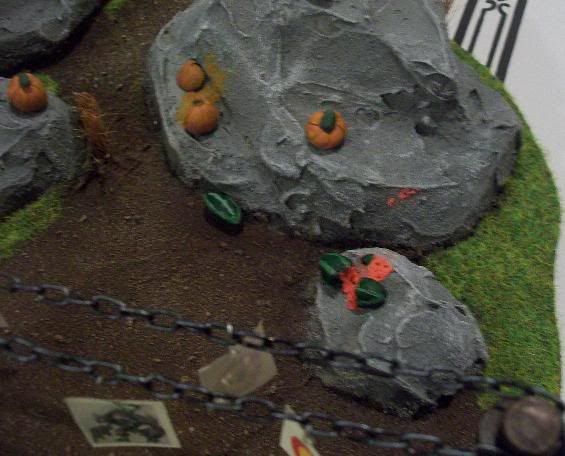
And of course the boulder backstop provides secondary targets in the form of the ever-threatening watermelons and pumpkins!(ever see Mail Call or Lock n' Load on the History Channel?)
The Watermelon/Pumpkin casualties up close(warning-some vegetarians may be sensitive to these images)...
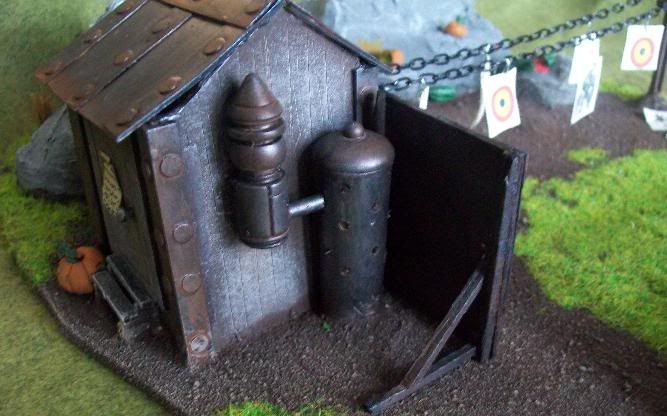
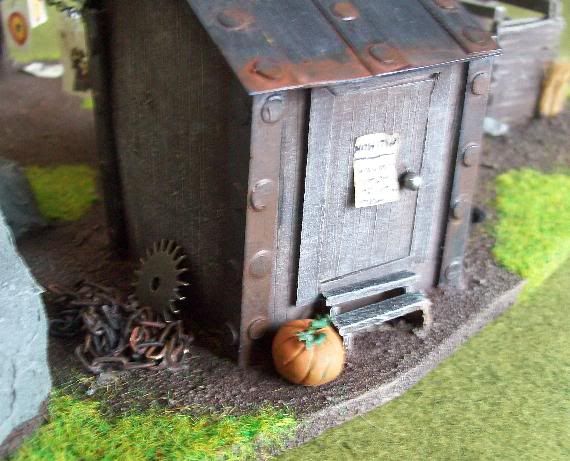
The "Target Shack" where fresh paper targets are loaded on to the revolving chain...
A local villager has contributed a pumpkin for the good of the kingdom(target practice) as a worn-out chain and gear lay abandoned next to the shack...
If anyone has any questions about the project feel free to post them, or check out the vids where I describe the project in detail...
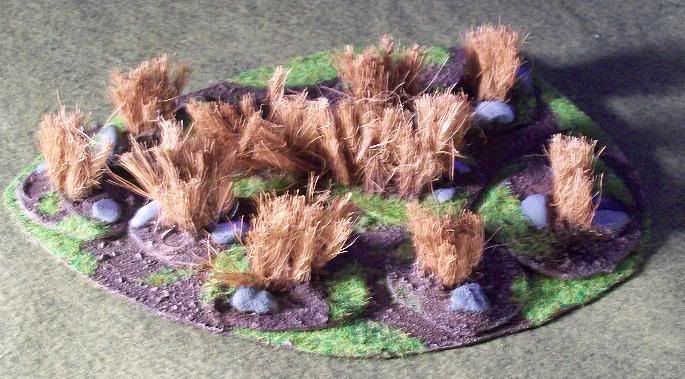
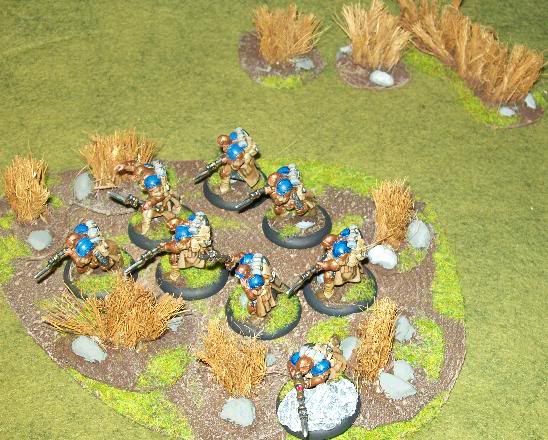
Historical wargamers have used coconut fiber mats for field grass and crops on their battlefields for over 30 years...and it's still a useful way to model fields. I incorporated the easily usable material into area terrain for my Warmachine battlefields. Tall grass makes a great +2 DEF cover terrain- not strong enough to stop a bullet and act as cover, but thick enough to obscure the target(especially a Rhulic Dwarf of course!).
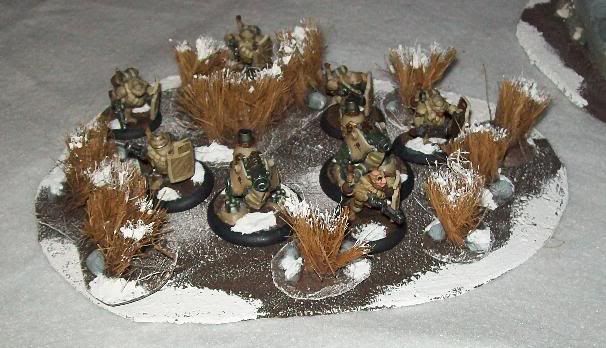
Above you can see a "winter" version of the field grass being used in a game.
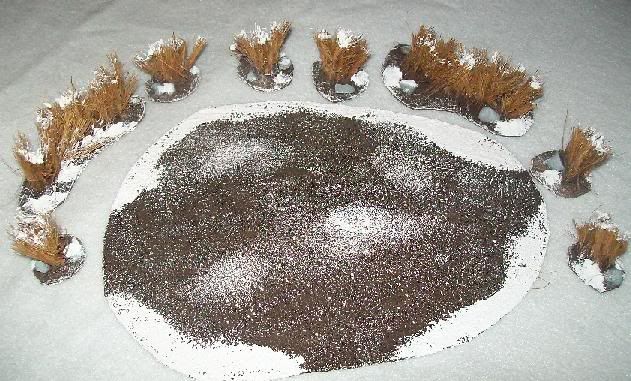
The individual based 'clumps' can be removed from the area base to make way for figures or they can be used separately on a terrain board without a larger base.
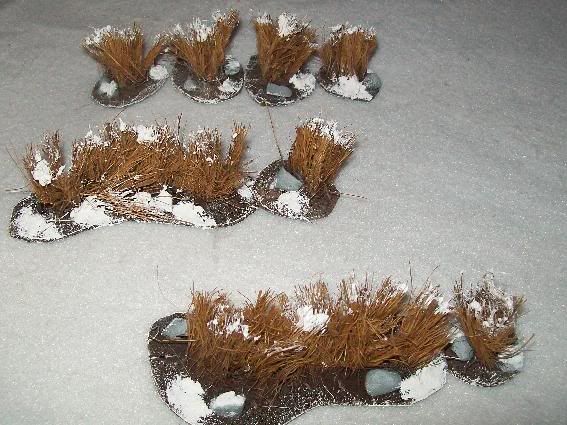
As you can see, even without the area base the smaller pieces can be used as nice "concealment" terrain.
The picture above shows a standard spring/summer version of the field grass.
And above you see some trenchers advancing through that version(sorry the pic is a bit bright).
For a complete "how to" make the terrain elements and to see how I use them in a WM battle take a look at the vids below...
Some of the greatest miniatures from the Warmachine line are the Rhulic(dwarven) forces from the Mercenaries faction. Plenty of fantasy settings have mountain-dwelling, forge-oriented dwarves...but adding the "steampunk" element gives them an extra dash of character!
The Grundback Gunners are fun little light warjacks that I like to think of as "walking guns"- I mean look at them! I do not yet have enough Rhulic units to field an entire Searforge army but I plan to jack marshall these gunners to my Hammerfall High Shields in the meantime in support of contract armies.
I painted these guys the standard Hammerfall Khaki. I wanted a clean, un-worn look but after my initial paintjob I decided to go back and given them a Gun Corps Brown wash to bring out the details a little more.
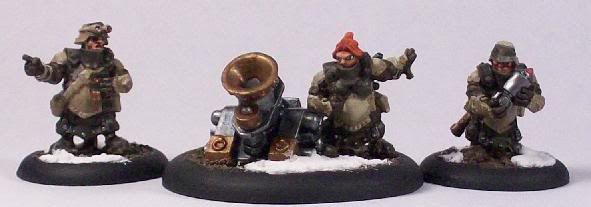
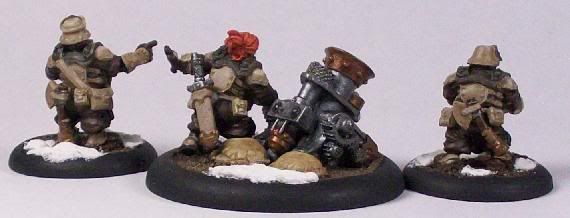
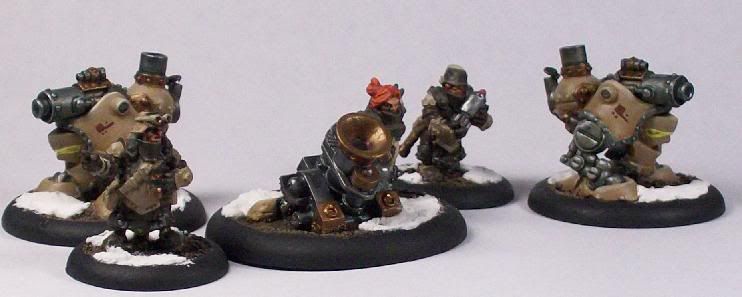
The newer Horgenhold Artillery Corps are some of my favorite Warmachine minis to date. I decided to call the main gunner "Red" after the color I chose for her hair. The armor was a combination of Hammerfall Khaki and Thornwood Green. I like the poses of the 'support' minis- the loader and the troop directing the shot. I used my usual baking soda-white glue-white paint mix to make the "snow" for the bases.
The only conversions I made to the model are visible from the rear. I replaced "Red"'s axe with a sword from my bits box and made sandbags out of green stuff as a backstop to the mortar. I am really looking forward to fielding this unit and the long-range punch that it packs.
And above you can see a "group shot" of my new Rhulics!
Double click on the video below for a full "Figure Feature" for these minis on my Youtube Channel...
So I am knee-deep in WM minis and that is not a bad thing. However I looked up at my desk this morning and realized how much I was juggling in various painting stages...yikes! So I thought we'd play "I Spy"-Warmachine style.
What different WM units/jacks/etc. do you spy in the photo?(click to enlarge)
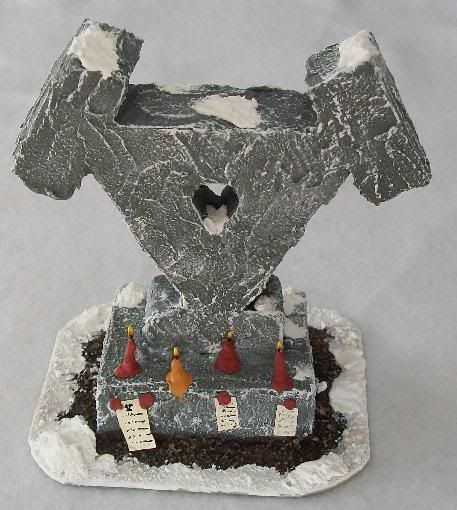
I put together a simple little "Khadorian War Memorial" monument the other day(two versions as you can see below) as a little side project while painting up some Trenchers. Well of course I got carried away and the terrain became my main project and the minis my side project(as usual).
The idea was to create a village monument to fallen soldiers where their surviving loved ones could express their remembrance.
The idea of the candles was that loved ones would burn a candle, say prayer, use some wax runoff to affix a 'letter of remembrance' to the base of the statue and then affix the candle. My three red candles are to honor the fallen and the yellow candle(with no matching letter) is to honor a still-serving Khadorian son or daughter.
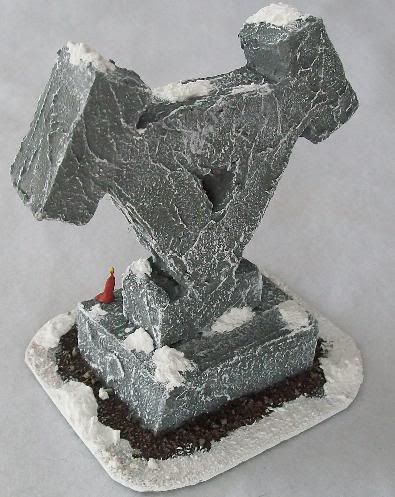
And here's just another look from the back.
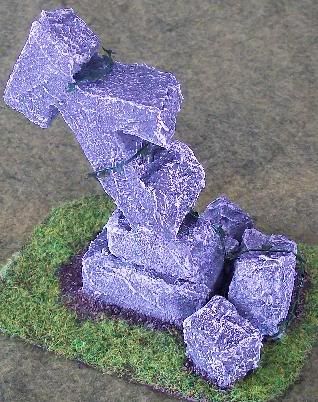
I also put together a "destroyed" version of the memorial with a summer motif.
The story here is that some Cygnarian invaders(or perhaps spiteful Llaelese resistance types?) laid into the memorial and wrecked it.
For a complete video walk-thru discussing the construction, painting and detailing of these pieces double-click on the link below to my Youtube video...
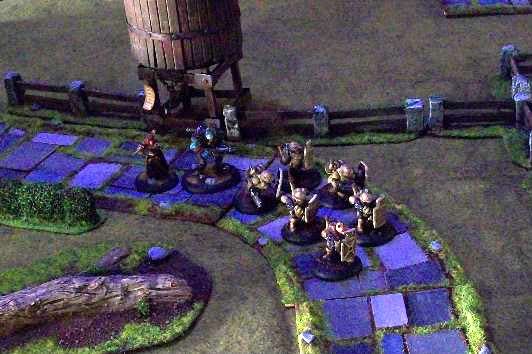
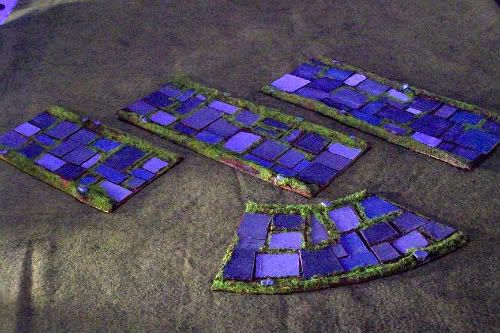
Wanting a new type of road other than the usual for my Warmachine battlefields, I recently put together what I call "Patchwork Slate Road" sections:
These roads are supposed to be somewhat ramshackle, with stones being quarried from many different places to create their irregular, haphazard appearance:
They were basically constructed from matting board(as the bases), rectangular bits of cardboard and matting board(could use heavy cardboard) and caulking(for the side ridges. I mixed a base grey paint with white, black and blue respectively to achieve the multi-colored effect on the stonework. The static grass in Noch Spring mix. For more information and a complete tutorial, feel free to click on the three part video tutorial below...
I had the pleasure of a 25 pt. WM battle with Kara Sloan leading an alliance of Cygnarians and their Mercenary hires against Lich Lord Asphyxious and his ghastly Cryxian minions. It was a great battle which saw an early Cygnarian wave of success suddenly met with a fierce Cryx counter-attack. Watch the BatReps below to see what happened...
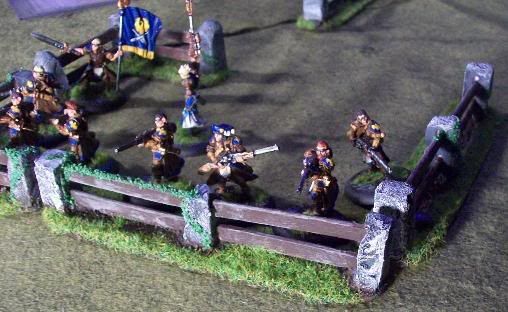
Always a fan of small, simple terrain accents in addition to large structures, I have put together a video tutorial for an archaic-looking stone/wood fence.
Here are a couple of stills of the easily made fences(supplies=coffee stirrers, cardboard, small bits of styrofoam):
The vids can be found on my Youtube channel(Iron Kingdoms at War) at the links below...
(the embedded vids below may be cut off, double-click on a video to see it at youtube)
My next project will be "Patchwork Slate Road Sections".
Sorry it's been so long since posting- a lot going on! That being said, I'm back(with a vengeance) to terrain-making and mini-painting for Warmachine! Yes, I have the pictures(and soon more vids) to prove it!
First up is the Butcher of Khardov(I always want to say "Kharkov" after the famous WWII battle!).
I think I've almost shed my rustiness after months off from painting and I'm pretty happy with how he turned out. Usually I don't do "gore" on a figure but a figure named "Butcher" screamed for a little blood in my opinion. I look forward to taking this Khadorian Warcaster into battle, especially because of his earth-shaking "Obliteration" spell.
Next up is the Khadorian War Dog...
The greatest challenge for the Wardog was trying to get the coloration of the fur correct- again, I'm pretty happy with the result. I used some photos of Bull Mastiffs as a reference. At first I thought of having him jumping over a fence, but I used a watch part gear instead(on the base). I've been wanting to field this solo figure for a while now to support my Khadorian 'casters...now I can!
Finally, here's the two figures together. For both I chose a Thornwood Green/Khador Red armor combination(such as seen on the Kodiak in the Forces of Warmachine book)- I just like the way the colors look together.
If you are curious about how I made the "snow" from easily available materials watch the video below...
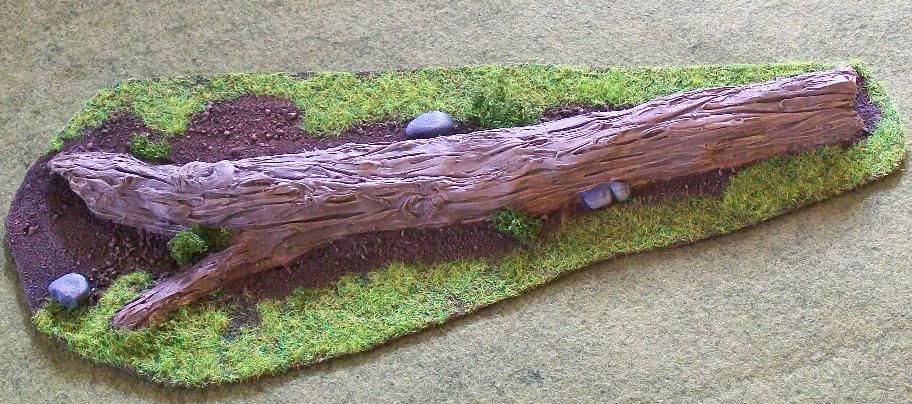
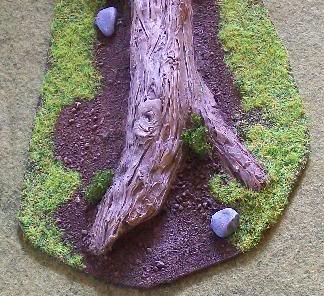
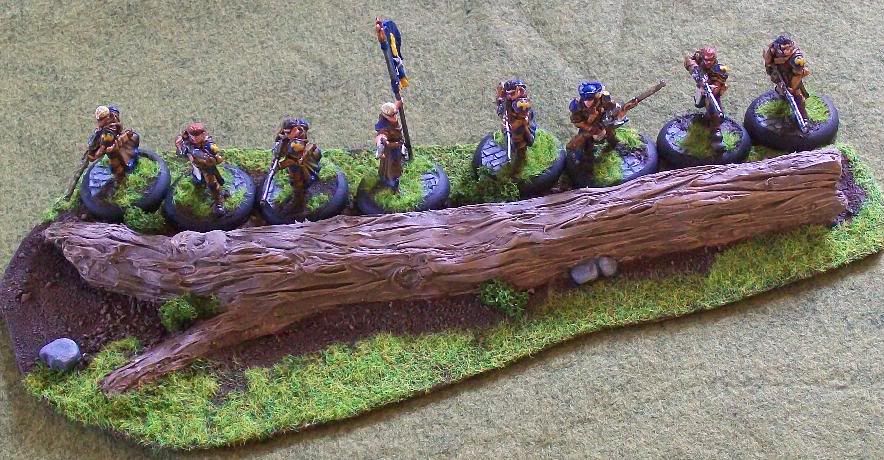
Having become very favorable to caulking as one of my newest favorite terrain-making material, I set out on an experimental piece. I've seen some nice pre-fabbed over-sized fallen trees available and I wanted to see if I could make one myself- I was very happy with the results
The materials I used were as follows:
-Caulking(White DAP brand)
-Tin Foil
-Matting Board(for base)
-Sand/Kitty Litter(for earth texture)
1.I began by cutting out my base and then ripping off a 10" or so long piece of good old tin foil. I scrunched it into the basic cylindrical shape of my fallen tree.
2.I coated the foil roughly with caulking using a caulking gun. Using a butter knife, I assured a smooth and complete coating of the tin foil form.
3.Using a toothpick, I engraved lines into the tree running the length of the piece to simulate a bark texture. I also crafted some small knotholes.
4.I let the caulking dry, then based the piece with sand/kitty litter mix. I added some small aquarium stones. After painting I flocked the edges with static grass and added some small foliage.
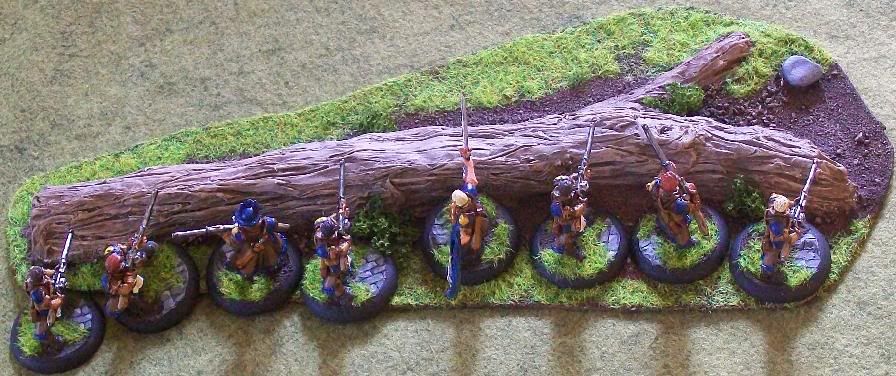
The pic above gives a sense of scale. I wanted the piece to represent and impressively large fallen tree that would provide cover to a nice-sized unit on the battlefield(although with the above method you could make trees or stumps of just about any size). I am sure I will refine the technique but I like my initial results- especially for such a simple process.
For a complete video tutorial on this piece click on the links below...
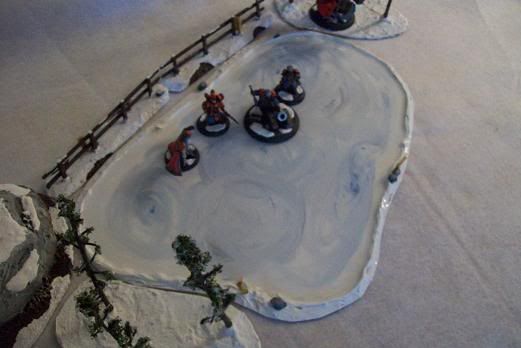
I recently put together a frozen pond for my winter gaming terrain(scroll to bottom for video).
It was a real "throw together" project that I did on a whim, but I really like the result. Construction was very easy...
-base was made from thick "For Sale" sign
-ridge around pond was made from plain white DAP caulking
(pebbles/field grass embedded within)
-ice effect was done using Envirotex
I didn't need to paint the caulking(white will do for snow of course) but for the pond I...
-gave the whole thing a thick basecoat of white paint
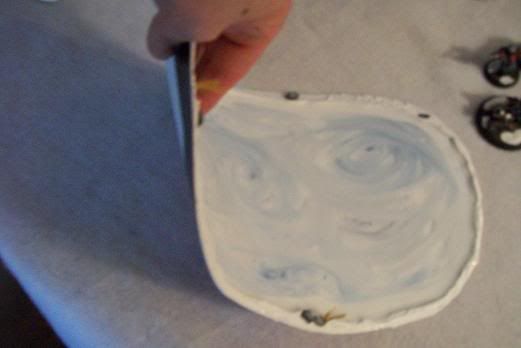
-watered down some slate blue and worked it into the still wet white paint in a swirling pattern
(not photorealistic, but I wanted a "wargamey" piece with a hint of blue)
-sealed with Envirotex
You can't really tell from the photos but the Envirotex gives it a fitting, icey sheen.
Best of all, because we're talking all flexible materials(plastic sign, caulking, dried Envirotex), the piece is very durable and flexible as illustrated above- it'll last me forever.