There are few things as sad as a wonderfully painted miniature on a plain, undecorated base....especially when a basic texture effect is so easily achieved cheaply and quickly. This is Basing 101: using sand as dirt texture for your wargaming mini. Now for veterans this is a 'no brainer'...a tried and tested method for quickly getting your mini finished and table-ready. So my audience for this post are mainly those new to the hobby(although hopefully there will be a trick or two of some use to veterans as well).
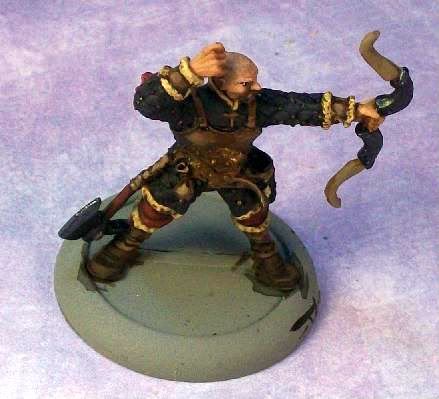
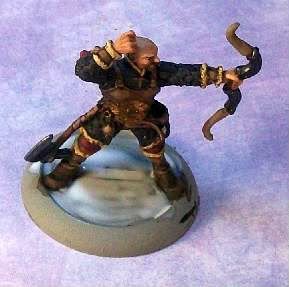
Here is my sad little Kossite Woodsman who is embarrassed by his plain base. Now Kossites, according to Warmachine rules, can deploy onto the table later in the game using their "Ambush" tactic. This guy, however, might resist ever coming on to the table for the shame of his undecorated base!...
(click on any images for larger pictures if needed)
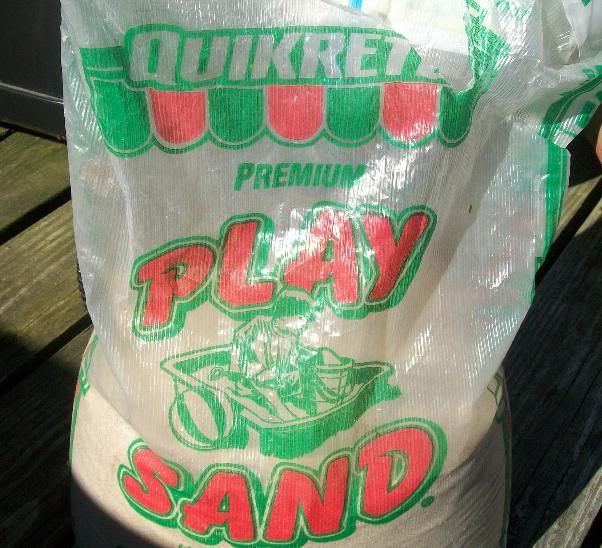
The good news is that with some inexpensive tools, and minimal time, he will have a base he can be proud of! Let's talk materials: sand, old paint brush & Mod Podge(or white glue)...that's it. Let's talk sand first. For about $5 you can get a bag of sand at the hardware store that will likely be all that you'll ever use. What you are looking for is a sand with a natural, beach-like texture which has variable grains in it. I like Quikrete's Play Sand(but if you live near a beach, nature has already provided of course).
But be careful with "Play Sand"...you don't want the uniform, bleached-white stuff. This also goes for "Craft" or "Scenic" sand like you'll find at Michael's...its a processed, fine grit sand that won't look natural when you paint it..don't use it.
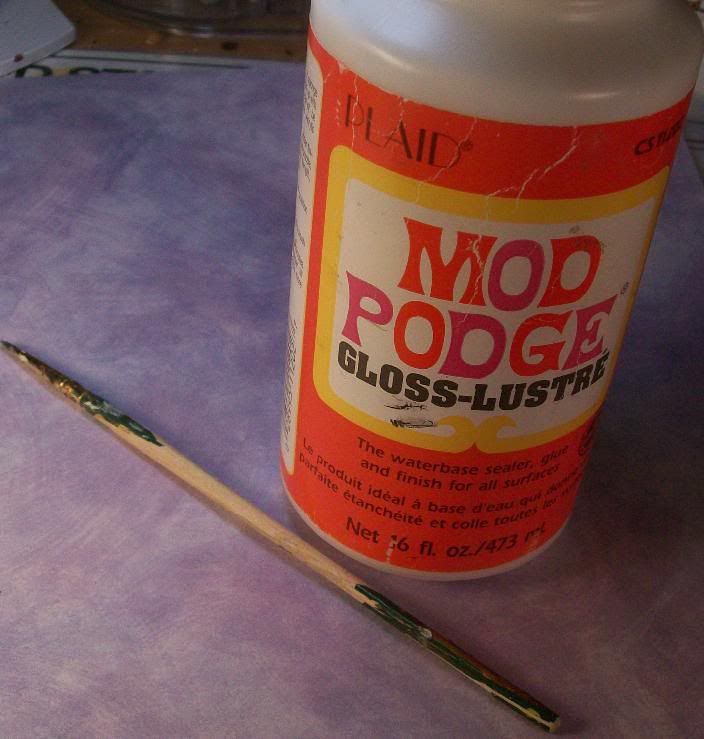
As far as adhesive you can go two routes; you can use watered down white glue or a craft sealer such as Mod Podge. I like Mod Podge because it essentially is watered-down glue right out of the container...no need for an extra step! Use and old paint brush(not one for miniature details)...you can clean it up with water afterwards(white glue and Mod Podge are both water-based)...but why use a nice brush if you don't have to?
With materials out of the way, let's talk process(and uber-easy process).
Step 1: Applying Adhesive-Avoiding the miniature itself, apply the Mod Podge(or glue) around the base of the miniature. Also try to avoid getting the adhesive on the outside lip of the base. If there is a little "dip"(recess) where the slotted bottom of the figure is embedded, be sure to fill it in with your adhesive.
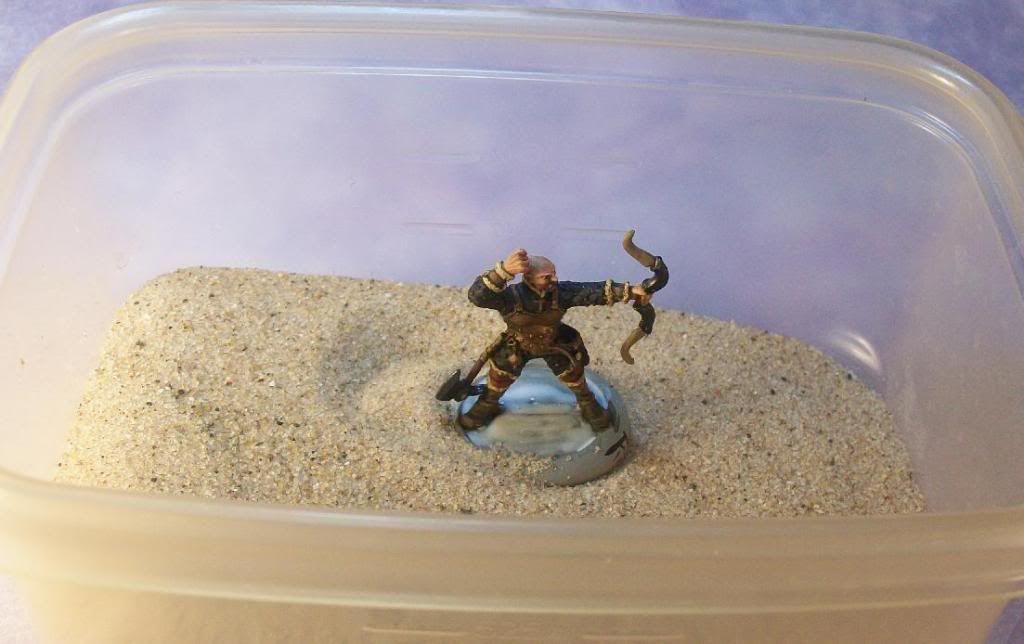
Step 2: Applying Sand-Take your miniature and "dip" it into your sand container in a sidways motion, making sure the base is submerged in the sand. Once the base is saturated with sand, tilt the figure sideways and shake off excess grit. Also, after you take out the mini, blow on its base to remove any loose sand.
Step 3: Sand Clean-Up-Look at your mini, if there is sand glued on the outside of the lip, simply use your finger to wipe it off(so that the round edge of your base remains untextured).
At the tip of the red arrow you can see the excess
sand that I will wipe off.
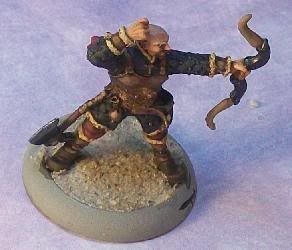
At this point your mini should look something like this...
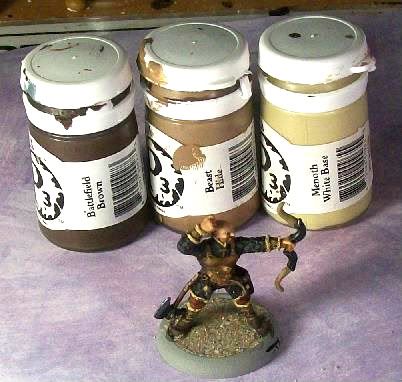
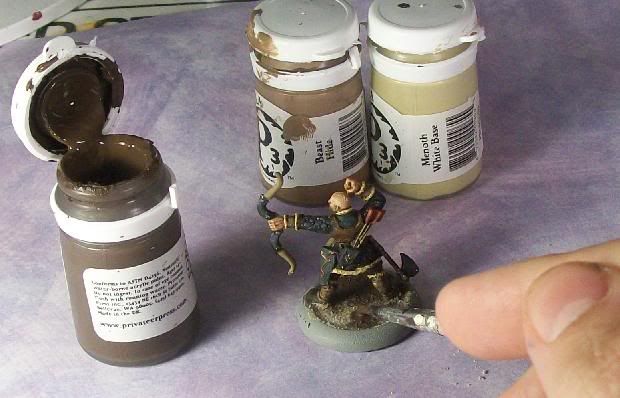
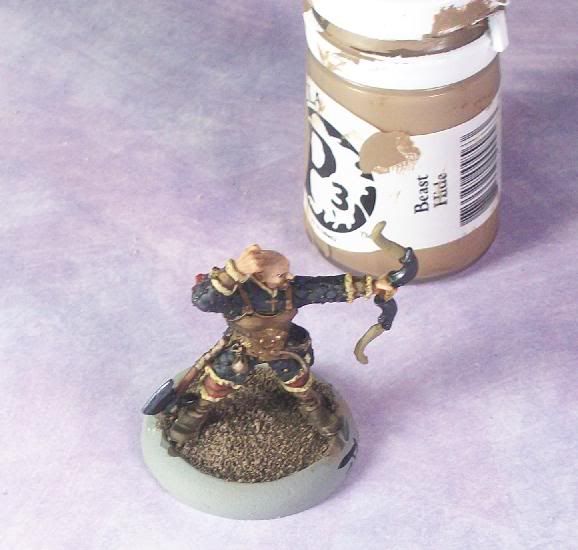
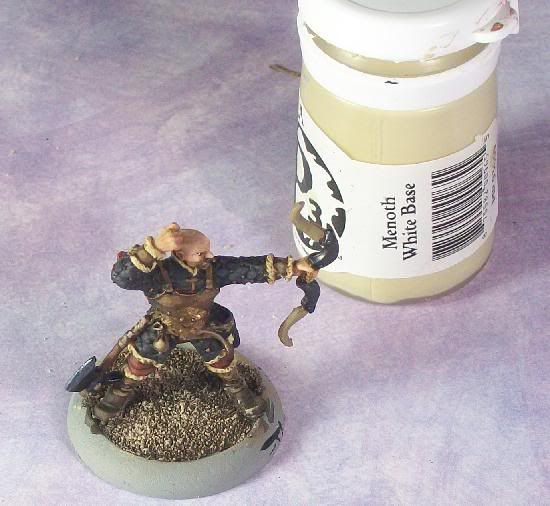
After letting the sand dry(30 minutes should do) you can apply a base coat of paint to your miniature. I take a three step, quick approach to this for simple dirt basing. I use a basecoat of P3's Battlefield Brown(Dark Brown), followed by successively drybrushed highlights of P3 Beast Hide(Dark Tan) and then P3 Menoth White Base(Light Tan/Beige). Here is my mini and my paints readied....
Step 4: Basecoat Paint- Open your Battlefield Brown(or similar paint) paint pot. Load your brush with water before dipping it into the paint...we want a "runny" load of paint on the brush. When you put the tip of your watered-down paint on the base, the paint will be "soaked up" by the dry sand and naturally travel across the base on its own. The beauty of this is that you don't need to put your brush near the feet of your mini(or cape, etc.) and risk painting over your miniature. It's a neat trick...
Of course, if you use dropper bottles for your paint(such as Vallejo, Reaper), just water down your paint on your palette. Whichever method you employ, don't water down your paint too much or there won't be enough pigment and the sand's natural color will show through...experiment to get the blance right(you can always paint over your first layer if it was too thin). Your basecoated mini should be left to dry before you go on to the next step(put it under a hot lamp to speed up the process if you want).
Step 5: First Highlight- Time for some drybrushing fun. Take your middle hue(mine is P3 Beast Hide) and grab a nice drybrush. Put some paint on the tip of your brush and wipe off most of it on a paper towel until just a little pigment is remaining. Drybrush the base of your figure in a sideways motion make the sand grain details start to "pop". I don't worry if I hit the feet/boots of the figure a little as this gives them a traveled, dusty look...but you can avoid this if you so choose.
Step 6: Second(High) Highlight- Now we're going to emulate Step 5 but with a lighter color(P3 Menoth White Base/light tan). You don't need to clean your brush in between steps 5 & 6 so long as you brushed off most of your paint from step 5. Load the tip of your brush with your lightest paint and brush most of it off on a paper towel(as with previous step). Drybrush this color onto your base to further accentuate the dirt(sand) details. You're almost done!
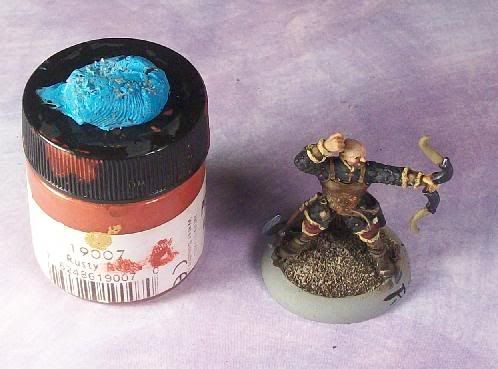
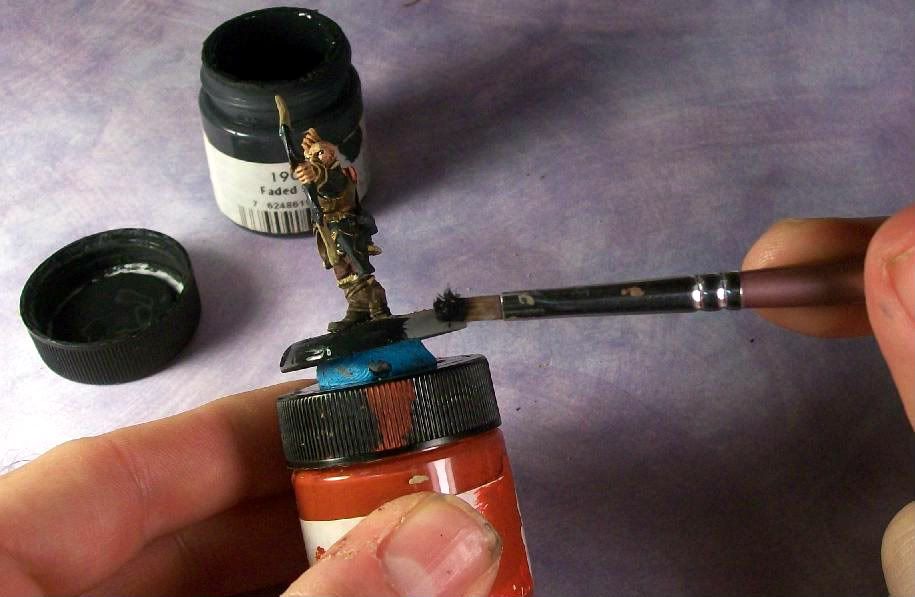
Step 7: Base Clean-Up- Well at this point with all the sand texturing, base-coating and drybrushing, the side lip of your base likely needs a little cleaning up. We're going to go around the lip of the mini with a flat black paint to finish him(I actually MUST do this because, as you can see, I had primed my miniature in grey). For this step I like to attach my mini to an old paint pot(or bottlecap) using a little dab of poster putty. This allows me to paint around the edges neatly and allows the paint to dry without making contact with your desk surface. You can see the simple process below...
Ignore the paint pot color, its just being used as a temporary base.
And that's about it! Now a couple of things to keep in mind...
1. The dirt texture looks nice enough, and is table ready, but you can always add details like static grass, grass tufts, leaf scatter, moss(see this tutorial) or snow(which is what this Kossite will be getting!).
2. In the tutorial I painted just one mini...if its a unit you would do one step at a time for all your minis(as a batch).
3. By changing the hues you can use the same texture for a differently themed base. Want your sand to represent a desert base?...use Beast Hide(Dark Tan) as your base and then highlight with Menoth White Base(light tan/beige) and then Menoth White Highlight(ivory) successively.
If you would prefer a video walkthrough of this simple method, I have uploaded one to my Youtube Channel. You can watch the embedded videos below(or double click on them for full screen, HD versions):
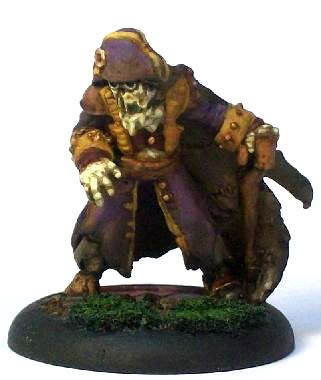
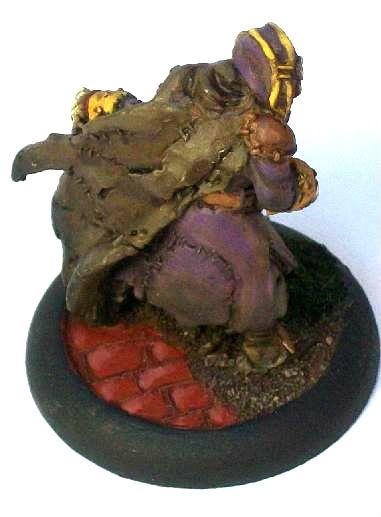
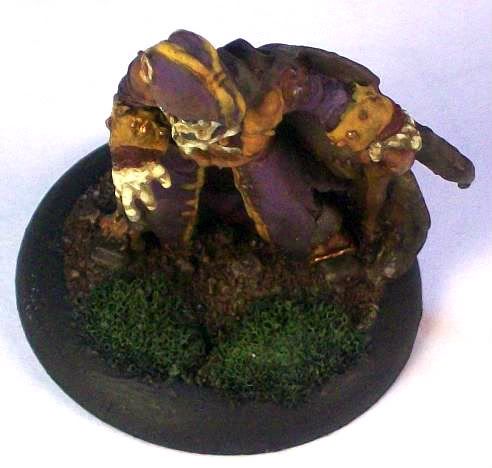
Wow, Ragman is a Mercenary solo that I really struggled with in terms of painting. In fact, I stripped him of his paint two times until I finally created a look that I can live with. He's an undead nobleman so the trick was to paint him in vibrant attire while making him suitably dingy from his necromantic enterprises. In the end I went about paint him in nice, bright Llaelese hues(purple & yellow)...then I gave him some intense washes of Secret Weapon Washes Sepia Ink as well as Brown Ink/Exile Blue to make him, well, 'raggedy'. I also used some Tamiya weathering pigments on the lower part of the figure to muck him up even more. In the end, here's how he came out...
I had a lot of fun customizing the base on this figure. I wanted an "overgrown road" theme so I carved some bricks right into the base and then added sand grit on the other half...
Then, to make the "non-brick half" a little less boring I added a little mossy foliage using the blister foam method I found on massivevoodoo.com...
If you are interested, I made a two part video tutorial on my Youtube channel showing how to do this kind of foliage(shallow moss)... (double click embedded video to enlarge to full size)
Well, we all know that the Trollbloods ooze character...that's probably why I ordered too many for Christmas! Now I'm backlogged on painting them(along with various Minions, Circle, Warmachine figures) but I am getting them done slowly but surely. Below is a video clip showing my newly finished Grim Angus and Janissa Stonetide figures...I can't wait to field them!
I recently uploaded a video on my Youtube Channel of various Minion Solos that I finished painting(Pendrake, Gudrun, Rorsh & Brine) and thought folks here might be interested...
(double click video window to enlarge)
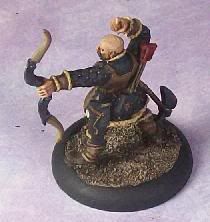
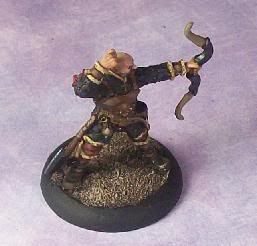
I'd say of all the Hordes unit models the Farrow Brigands have to be my favorite. They of course are the meat and potatoes pig-men "shootey" unit of the Thornfall Alliance Minions.
The Farrow Brigands stat line reads a lot like the Cygnar trenchers including the "Dig In" ability. However, they are a Minions units that will work for ALL FOUR of the core Hordes factions which is pretty cool.
The leader of the unit(pictured in the middle above) can say a different Prayer each turn buffing the figures in a different way(for various offensive/defensive perks). I know many people are gaga for the Blindwater gators but I think the Farrows are more my style- in fact I might even build a Thornfall army in good time. In the meantime, these guys will be some core support for my small but growing Trollbloods army.
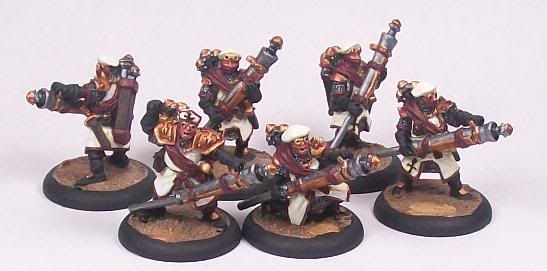
The first time I browsed Privateer Press' website I loved the look of the Deliverers unit! To be honest the Protectorate of Menoth wasn't a faction I was in a hurry to play but eventually I got around to them and of course, that meant it was time to paint up some Deliverers!
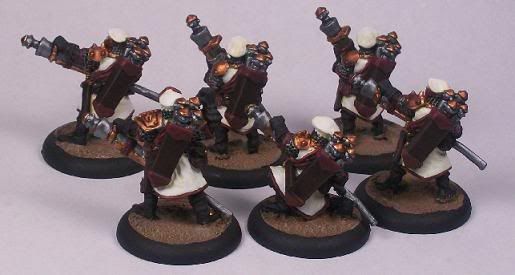
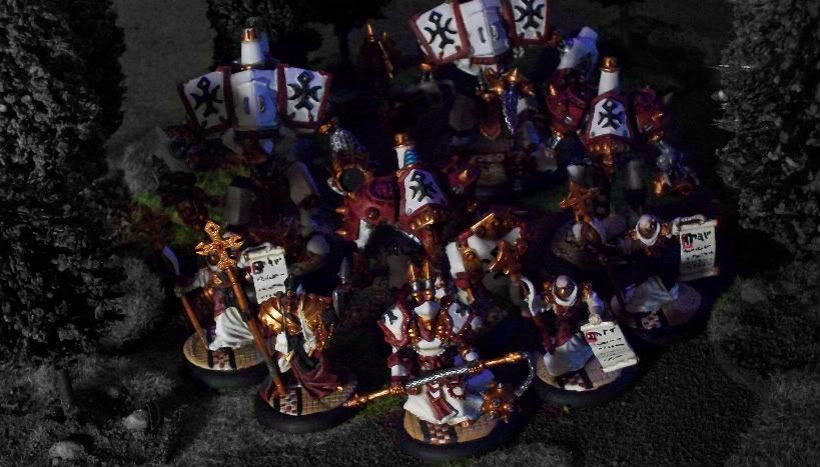
The Deliverers, like the other bread-and-butter Menite militia, Zealots, have a nice Arabian-Steampunk look to them befitting desert fighters. I went with a traditional paint scheme because I think the Sanguine/Menoth White/Black them is full of style.
One of the best things about these guys was assembly...none! That's right, all of the models are one piece so you just slot them into their bases, texture up said bases....prime and paint! As far as in-game- well they all fire blast radius rockets(Skyhammers, AoE=3) that can play havoc with an enemy advance...notoriously inaccurate but, hey, there's enough of them to blanket an area effectively!
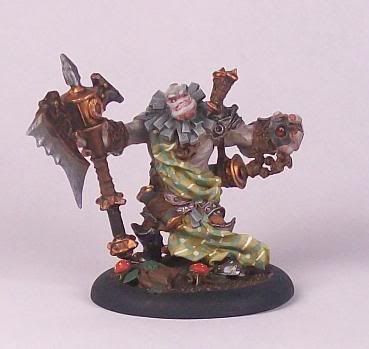
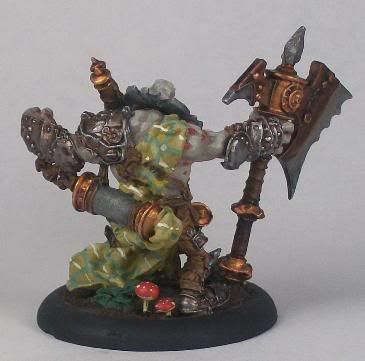
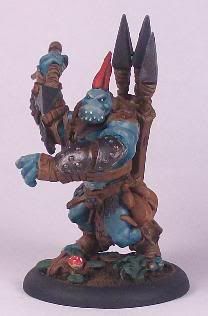
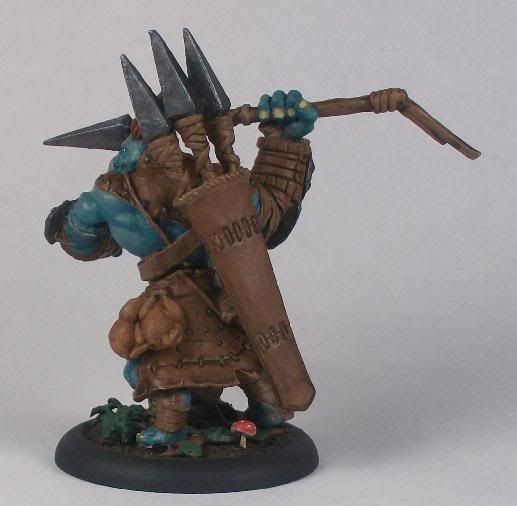
Well I finally have painted my first couple of Trollbloods- an army I've been anxious to get my brush on for some time now. You have to love these sculpts...full of power, character and humor!
Madrak is a great figure who, of course, is an "albino" Trollblood. I love the stone, metal and leather details that Privateer put on this guy. This was my first time doing a tartan- and that was a challenge. I pretty much followed the guide in the Forces book for painting it, although I scrapped my first try and started over.
The bases for my first two Trollbloods are fully customized. I used carved sprue for the plant and green stuff for the other details(mushrooms, logs, vines & leaves). I wanted a whimsical, decaying forest theme.
The Impaler has a classic Trollblood Blue coloration and I used the studio models as mu inspiration. Note the turkey(s) hanging from his belt! I find trollblood eyes a little tricky...but I have discovered that "less is more" is the key when it comes to their eyes.
The leather on this guy was fun to do...some Gun Corps Brown, Beasthide, and a couple of other shades all received a wash of Reaper Brown Ink(including the metal bits).
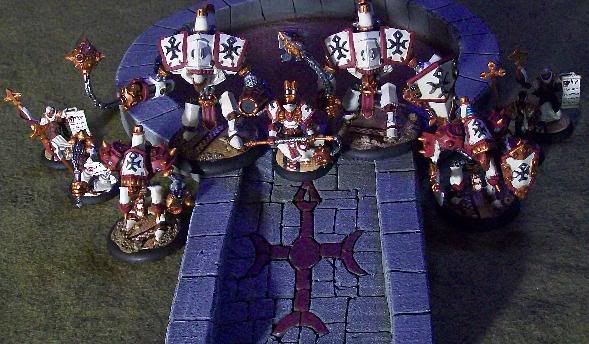
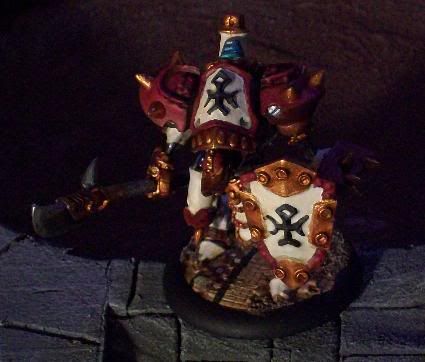
So I finally finished painting up the core of my Protectorate of Menoth starting army. Having already built a Cygnar, Khador and Merc force, this was my next big Warmachine project.
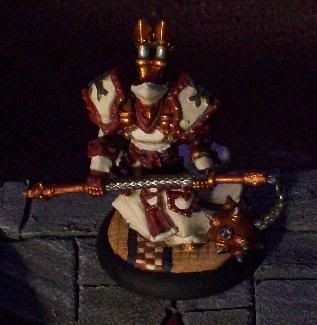
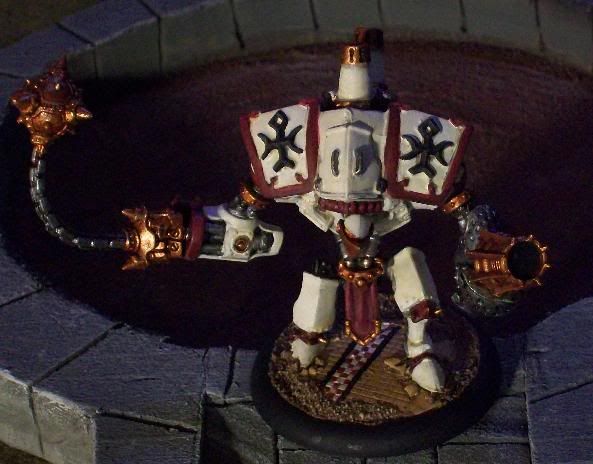
The models pictured above include the BattleBox minis(Kreoss, Repenter, Revenger, & Crusader(shown as a Templar)) with a Heavy Plastic Warjack kit added(shown as a Vanquisher) and the Choir of Menoth as well. I also ordered the box set of Deliverers, but my first Delivers box actually contained Flameguard Cleansers by mistake. I liked them so I kept them...and ordered an additional box of Deliverers(which were Deliverers!). These two units are still unpainted(and thus not shown).
A couple of things I wanted to mention about painting. First, Menoth White I found to be very tricky. I used the painting technique suggested in the Forces of Warmachine book but as I start with a light grey primer and not a black one, my white ended up being too white so I had to adjust the approach a bit
Secondly, I chose a mosaic tile pattern for the base and I really liked the result. The basing them was a partially ruined Menoth temple that was reclaimed by Menite forces(this the partial tile/rubble effect).
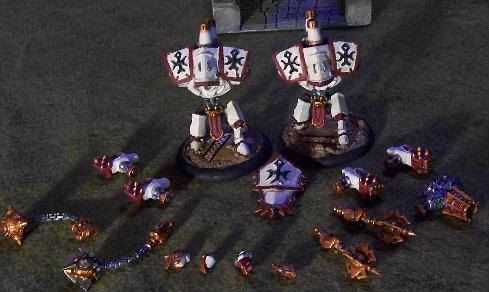
I had a lot of fun magnetizing the heavy warjacks using this tutorial made by Plarzoid at the Privateer Press forums . I highly recommend K&J Magnetics for the magnets...great website, prices and prompt shipping. At any time I can run any two of the following in a battle now: Crusader, Crusader, Vanquisher, Templar. I call these guys my "Protectorate Action Figures" because of the nice, pose-able articulation that comes with magnetizing them.
I really like the Choir of Menoth figures- another example of Privateer Press having the best mini sculpts around!
I am excited to add to this army and I look forward to fielding it of course. For now I am on to Trollbloods but all of my armies, including the Protectorate one, will continue to receive reinforcements of course.
Kreoss and company emerge from the forest, ready to deal death to the Morrowan heretics!
For a more detailed description view the video version of this Figure Feature below...
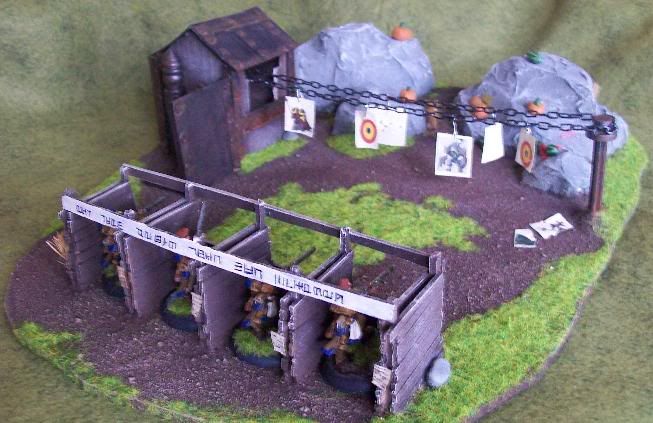
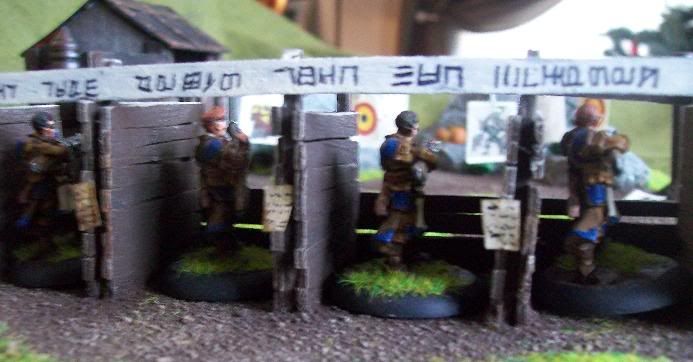
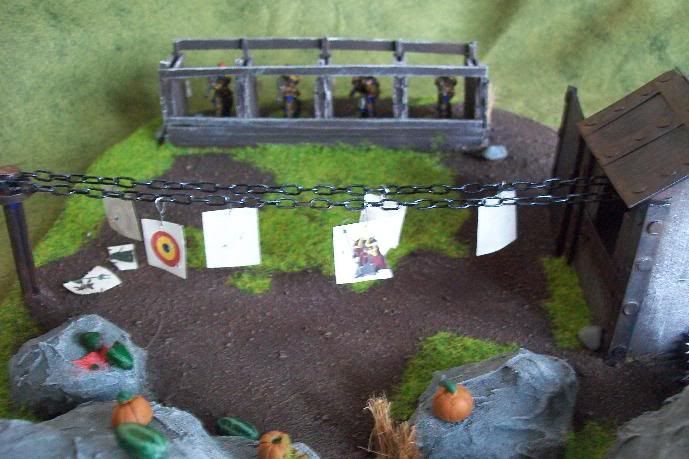
Well of course everyone knows that Long Gunners only achieve their marksmanship(RAT) with many hours of training...thus the need for the Cygnarian Shooting Gallery!
The moving paper targets depicting Iron Fang Pikemen, Lich Lords and Helljacks provide the real-world combat situation of trying to hit a moving enemy(artwork by Clayman8 and thevampiredeo)...
The words above the firing stalls remind the trainees of an important truth: "One shot could save the kingdom"...
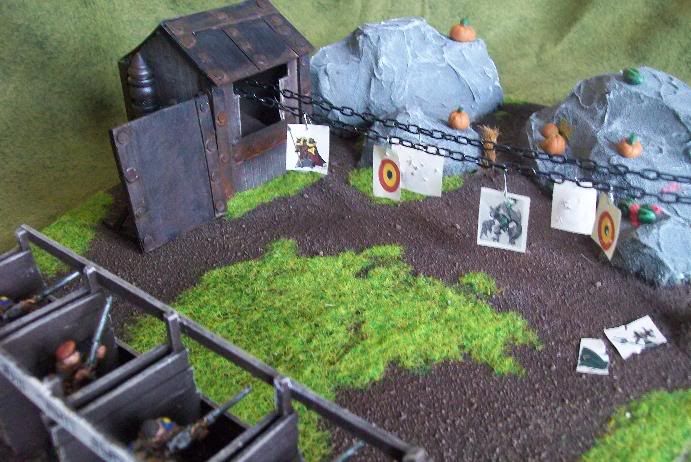
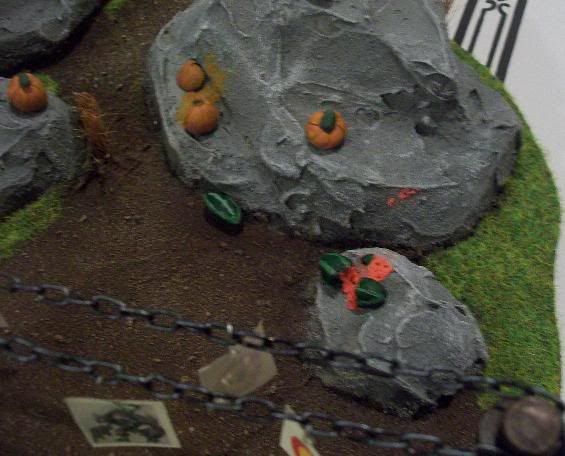
And of course the boulder backstop provides secondary targets in the form of the ever-threatening watermelons and pumpkins!(ever see Mail Call or Lock n' Load on the History Channel?)
The Watermelon/Pumpkin casualties up close(warning-some vegetarians may be sensitive to these images)...
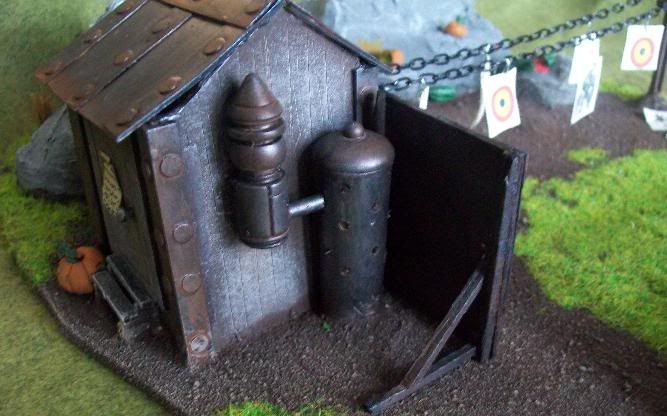
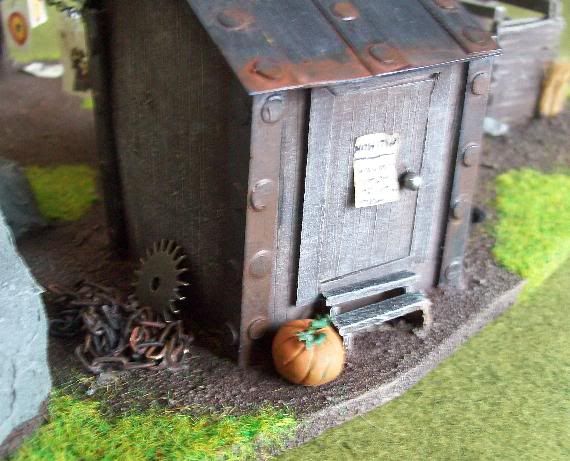
The "Target Shack" where fresh paper targets are loaded on to the revolving chain...
A local villager has contributed a pumpkin for the good of the kingdom(target practice) as a worn-out chain and gear lay abandoned next to the shack...
If anyone has any questions about the project feel free to post them, or check out the vids where I describe the project in detail...
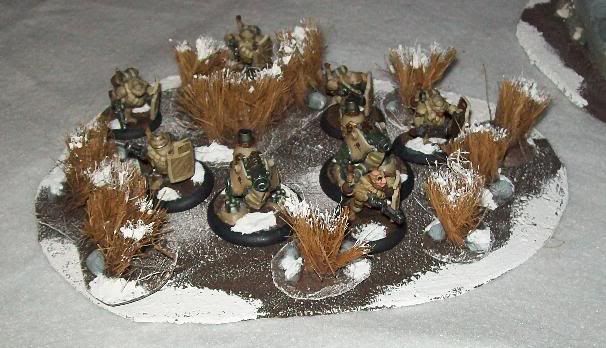
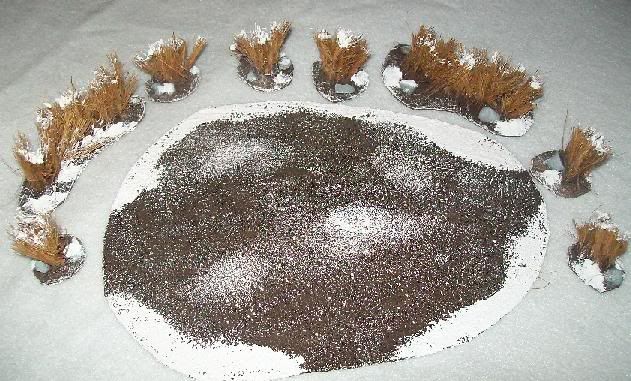
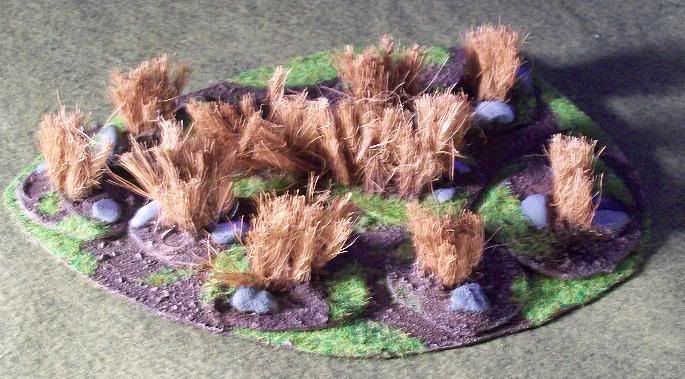
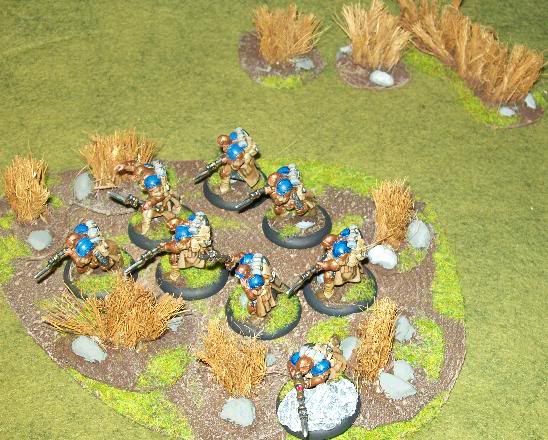
Historical wargamers have used coconut fiber mats for field grass and crops on their battlefields for over 30 years...and it's still a useful way to model fields. I incorporated the easily usable material into area terrain for my Warmachine battlefields. Tall grass makes a great +2 DEF cover terrain- not strong enough to stop a bullet and act as cover, but thick enough to obscure the target(especially a Rhulic Dwarf of course!).
Above you can see a "winter" version of the field grass being used in a game.
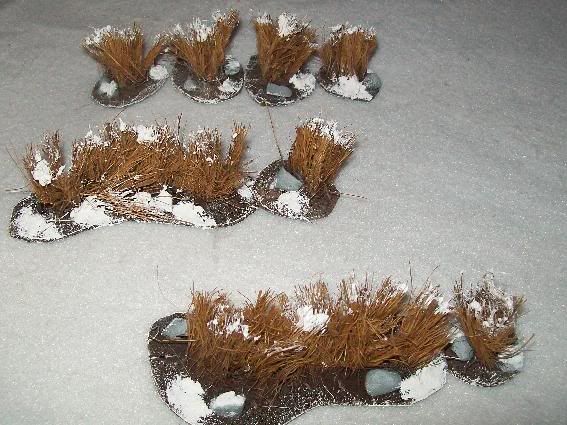
The individual based 'clumps' can be removed from the area base to make way for figures or they can be used separately on a terrain board without a larger base.
As you can see, even without the area base the smaller pieces can be used as nice "concealment" terrain.
The picture above shows a standard spring/summer version of the field grass.
And above you see some trenchers advancing through that version(sorry the pic is a bit bright).
For a complete "how to" make the terrain elements and to see how I use them in a WM battle take a look at the vids below...