Showing posts with label World War II. Show all posts

Sunday, March 24, 2013

Inexpensive Model Transport and Basing Alternative...

My $5 storage box(without the lid on)...

One of the things I struggle with as both a modeler who wargames at home and advisor to the Military History Club at the high school where I teach(Military History amongst other subjects), is how to transport my models and figures between home and school.  I have a fancy BattleFoam case for my Warmachine figures but I don't want to invest that kind of money again into army transports. 
Years ago I bought some K & J magnets(see link to the right on this blog) so I could convert a plastic warjack kit so it could have swappable arms, weapons and heads(see this post). I decided to put my extra magnets to use for two purposes...both for army transport and for basing of armor.  I shook my box up a bit and the tanks barely shifted...which meaning this should work well for carrying them back and forth to my club.
With some tanks removed.

I used a regular plastic scrapbooking container(I believe I bought this at Target for $5 a couple of years ago) and glued in some magnetic strips that I bought at Staples for about the same price(it comes in a roll).  The magnetic strip has paper on one side and an adhesive so you could, in theory, just tape these into your box.  However, I went ahead and white glued(Weldbond) the strips into the bottom of the container just to be sure(because the stripping comes in a roll, it could curl on you). I put some heavy books on top of the strips(into the box) while they dried. If you wanted to, you could glue some cardboard or foamcore beneath the magnetic strips to raise the magnetic material up closer to the hull of the tank(if your magnets on the bottom of the tank are shallow, this might be the way to go...you can see in the pic above that I did this for a couple of the strips).  For you fantasy or 28mm historical gamers, just glue a small magnet inslip the lip of your base(such as the Privateer Press variety) and you could carry your minis the same way.  You could even do this for Warjacks from Warmachine(anything you can attach a magnet under).
The not so pretty angle of my tank models where I glued the magnets...
Then I took my tank models and attached a small magnet to the bottom of each one using a dab of superglue.  The magnets I used were 1/8" by 3/32"(kit D203 K&J magnetics) but any magnets with a strong power should do.  You could even glue more plastic strip to the bottom of the tanks from the roll you used from the box(but I don't trust this because it's magentic hold is not as strong as the K&J magnets(which are very much like Rare Earth magnets which many of you may be familiar with.  I found that all of the Plastic Soldier Company tanks had a bottom hull about the same distance off the ground so these magnets were the right depth to contact with the strip in the box.  However, the Armourfast T-34's I had were a little higher, so(as shown above) I used some green stuff to lower the depression of the magnet so it would contact the box strip.

A PSC Panzer III on a detachable(magnetized) base.
Now off the base..note the magnetic strip on the base.
Here is the fun part.  I personally prefer unbased tank models for gaming but I do like the "finished" look that a based tank has when I see them on the blogs and websites of others.  Now I can have the best of both worlds due to the magnets.  I put some magnetic strip on a base which I raised up a bit by gluing it to a small block of foamcore.  I then used some putty to even out the ground around this magnet and did applied my usual dirt texture/static grass for the base.  Now I have a nice little movement/display base for my tank.


The same base now hosting a T-34.
The best part is, I can mass produce these and even swap out different tanks on them(as shown above).  For those that don't like have a winter-based tank on Spring green board, consider this alternative way of tank basing...you could swap out a Spring base for a snow base(or urban/desert, etc.) for any of your armor models!

Well, that's it for now. Whether you are a historical or fantasy gamer, I hope you can use this method of transport and/or basing for your own collection.

Thanks for viewing...happy wargaming everybody!
~Gareson

Friday, March 22, 2013

German T-34's?

Well, after painting up my Plastic Soldier Company T-34's I could barely stand to look at my first generation Armourfast one's which looked like the rough mockup for the better PSC kit at best.  What do you do with old Soviet tanks that don't mix well with their newer counterparts? Give them to the Germans!...
As you can see I painted over my old Armourfast T-34/76 models with some rudimentary German camo.  I didn't spend that much time on these to be honest...just enough of a makeover to field them as auxiliary units in my German BattleGroup Kursk battlegroup(which the rules allow for by the way). I always find it interesting that the a German SS battalion at Kursk fielded captured and repurposed T-34's.
I like the way the German scheme disguises the simplicity of this kit's design.  It was an o.k. model for it's day...but it is just too short on details.  That being said, it will be fun to pit T-34's against T-34's.  My money's on the German crews.
Well, they'll do for a quick job on a rough model...thanks for viewing everyone.

Thursday, March 21, 2013

Panzer III's Vorwarts!

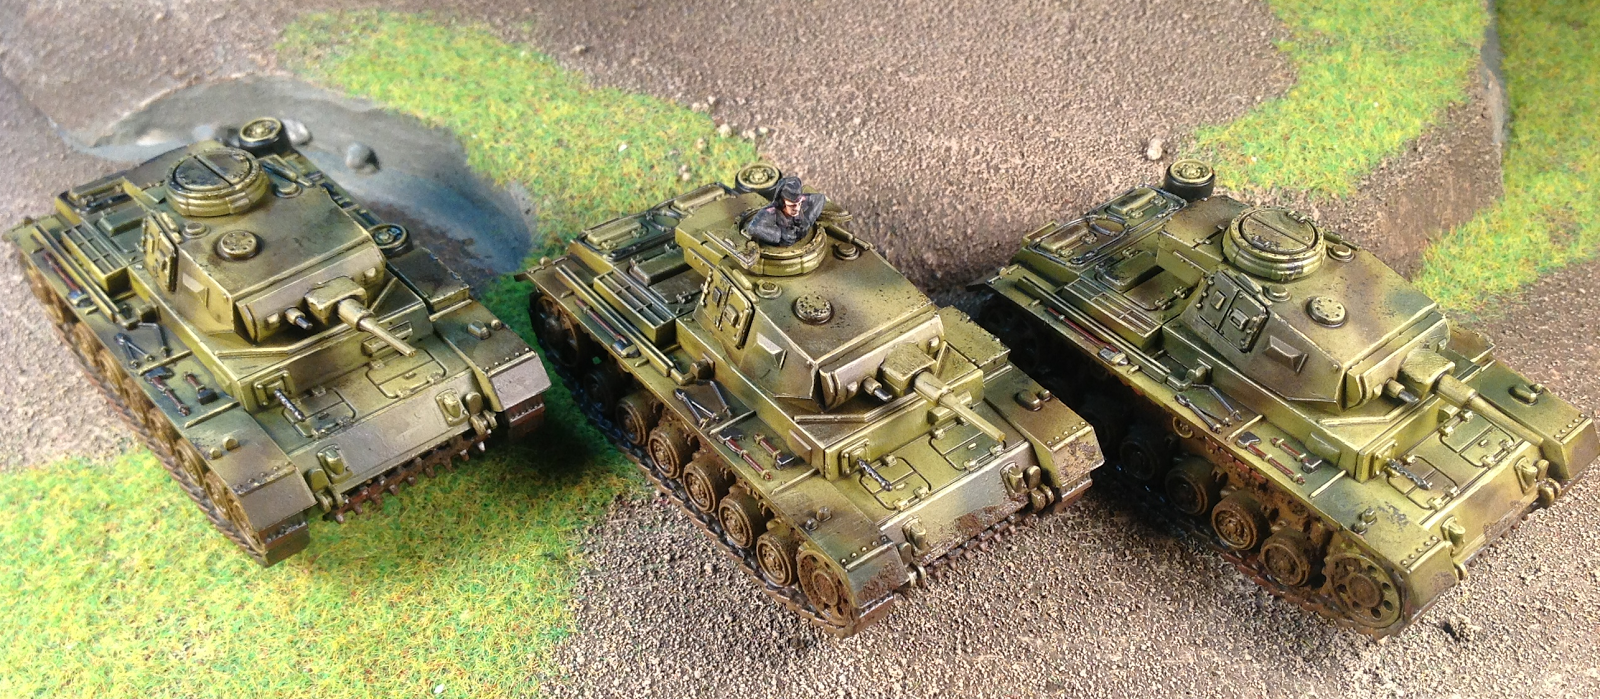
When I first saw the Plastic Soldier Company 1/72 Panzer III kits announced I was pretty excited because I loved the other German armor they'd already put out in the scale.  This relatively new box set comes with three Panzer IIIG or H model tanks(I modeled the H).
The kit was very easy to assemble and each complete tank used parts from a single sprue...everything fit together well.  The only hiccup was a slight molding error(a small pinhole on the top of the gun assembly) that I filled with some green stuff. 

I've been playing around with washes lately and I am very happy to say that I finally have a method that I am happy with.  After basecoating the model with Vallejo Model Air colors, I sealed each tank with a straight out of the bottle airbrushed coat of Pledge Floor Care Multi-Surface Finish.  This is the same product known as "Future" except they have dropped the future logo altogether(I called the manufacturer to confirm it is the same thing).  I used this as a perfect gloss sealer of the painting before going on to washes.
Speaking of my wash...
I used a "Magic Wash" homebrewed Dark Umber wash using the following:
-4 parts water
-1 part Pledge Finish(see above)
-1 dropper of Liquitex Umber Ink
-1 dropper of Liquitex Black Ink
This wash perfectly found it's way into the panel and hatch lines around the model while having almost no effect on  the overall hue of the model.  Below you can see one  of my Panzer IVH's from PSC next to the Panzer III.  For the Panzer IV I used Vallejo Umber Wash and it really shaded the model and took down the colors. Additionally, I had to go in and do a pin wash of black wash on the panel lines of the Panzer IV manually.  Note that on the Panzer III, using the method described above, I just did a straight out overall wash of the Pledge/Ink magic wash and the details are even crisper that with the previous pinwashing on the Mark IV(note: for the two tanks below I used identical basecoating/highlighting methods...but note how much more effective the wash was on the Panzer III(bottom)). 
I finished up the model with a blast of Testor's Dullcoat to knock out the shine and mud pigments from Vallejo.  I love these little "Panzer Dreis" and they will make a nice addition to my German army. 
Thanks for viewing/reading...happy wargaming everybody.
~Gareson

P.S. More bad news about the way Games Workshop treats retailers and gamers today...SO GLAD I dropped that game and company years ago! 

Sunday, March 17, 2013

T-34's Ready For Action...

 
PSC T-34 with 76mm turret
The first "easy assembly" kits I ever built were Armourfast T-34's.  I thought they were pretty nice at the time, but these Plastic Soldier Company 1/72 T-34's blow them away.  Furthermore, when I bought the old Armourfast kits(which aren't nearly as detailed), I had to buy different boxes for the T-34/76 and T-34/85 tanks...even though they provided identical chassis(just a different turret sprues).   PSC has been considerate enough to include both variant turrets in a single box!
PSC T-34 with 85mm turret

All of the PSC kits that I have built so far are well-designed but these were some of the easiest to assemble(especially as the tracks are one piece).  I didn't modify the kits at all except for a few stowage pieces from my bits box(German jerry cans from the Panzer IV kit, a twig, other random bits).  I am especially pleased with the look of the twig, used to model a traction/mud log, because I attached it...primed it...painted it...and it ended up looking exactly like the original wood piece did!
As far as painting, as with my previous Soviet armor, I went with a little bit of a lighter green rather than the darker hue that true Soviet armor would have sported.  I actually used the recipe from the Battlegroup Kursk rulebook tutorial(with exception of using  Dark Green Vallejo Primer).  I basecoated with Russian Green and then highlighted with Interior Green(both Vallejo Model Air).  The hit the raised outlines of the tank with some Hemp(Vallejo Model Air) that I drybrushed and line in.

After that I gave the whole thing a glosscoat of Vallejo Gloss Medium airbrushed on.  I followed this with a oil wash use Winsor & Newton Umber oil paint from a tube mixed with Turpenoid.  Next time I will use Mineral Spirits because the Turpenoid was extremely glossy and slow to dry. In fact, it took me several coats of Testor's Dullcoat to knock down the shine after it dried.  Before the wash I hand-painted all the slogans.  There are some nice decals for this...but I prefer to hand do them because I like the haphazard look of unevenly scribed mottos that the soldiers themselves would have painted on.
As a finishing touch I added some mud pigments to the wheels and lower hull of the tank(front and back).

Having not painted armor for many years there are many techniques I am re-learning and new ones that I am catching up with.  I am sure that with more practice I will refine these skills.

Finally, here is a shot of my next trio of Plastic Soldier Company tanks that is (clearly) a work in progress...I have merely begun work on these tanks and have a lot of work to do yet...
Well, that's it for now...thanks for viewing everyone!

Happy wargaming everybody...
~Gareson

Wednesday, March 06, 2013

Panzer IV's Complete

Well, admittedly, maybe not completely complete...I am going to add some mud pigments down the line. 
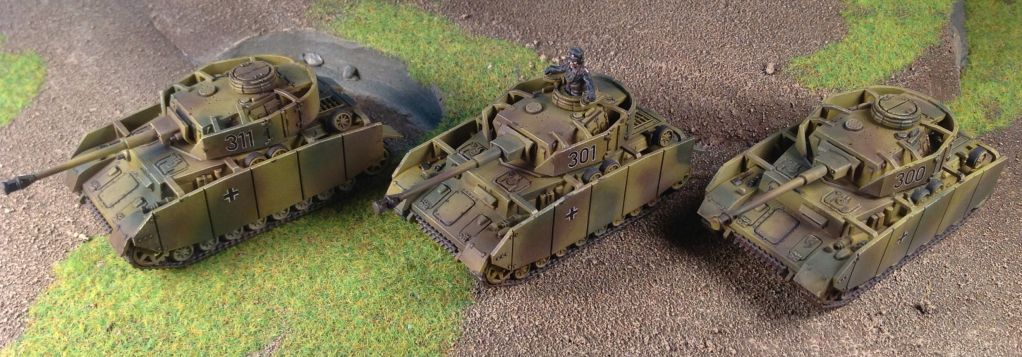
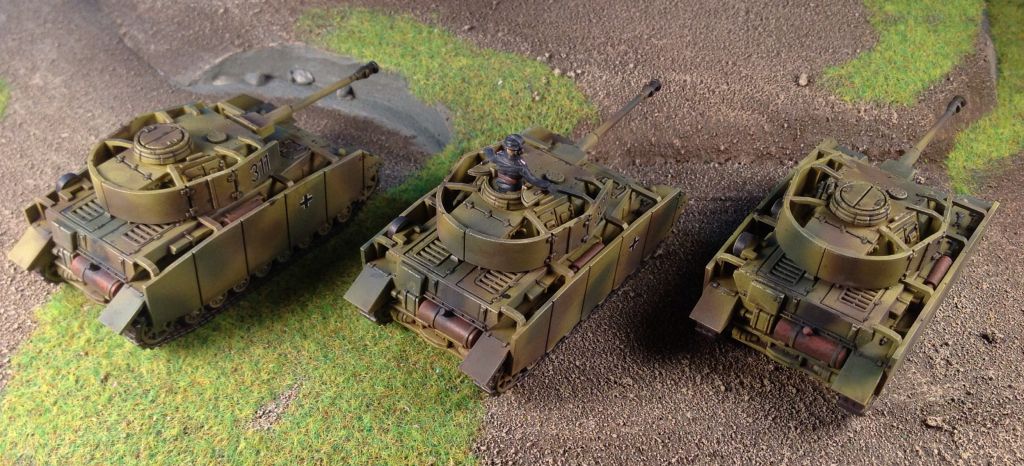
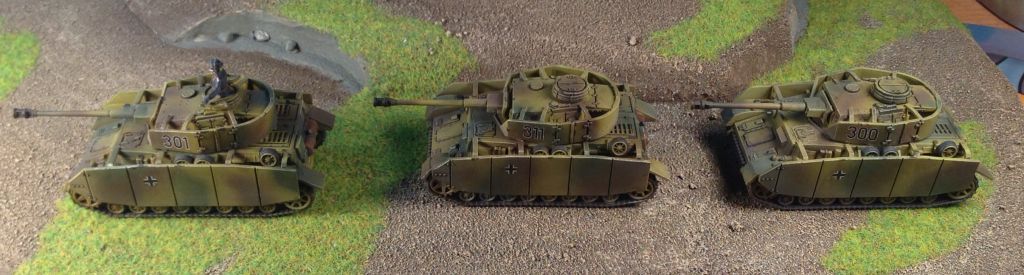
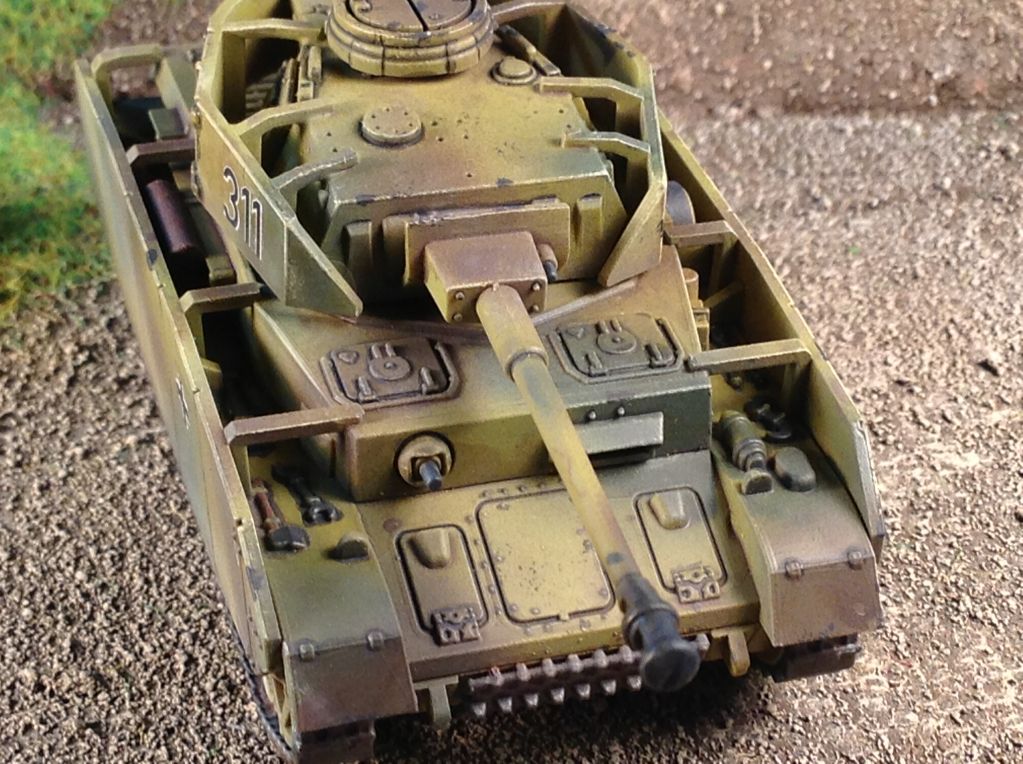
Anways, above are my mostly finished Plastic Soldier Company 1/72 Panzer IVH models. 
The Panzer IVH has always been my favorite tank of World War II...there's something about it's harsh lines and pragmatic engineering that make it the quintessential panzer. 
My wife was kind of nice to build these for me so that I could dive in and try my first ever experiment in airbrushing.  Like painting minis, I am sure it is a skill I will improve with over time.
That being said, my goal of making soft-edged mid war German camouflage seems to have been achieved.  I've ben painting miniatures for many years while I never gave much time to my armor(a quick Testor's spray with a simple wash/drybrush at best).  
This time I did a lot of research and added more than just the airbrushing...including a wash over a glosscoat and a pin-wash to bring out the details. 

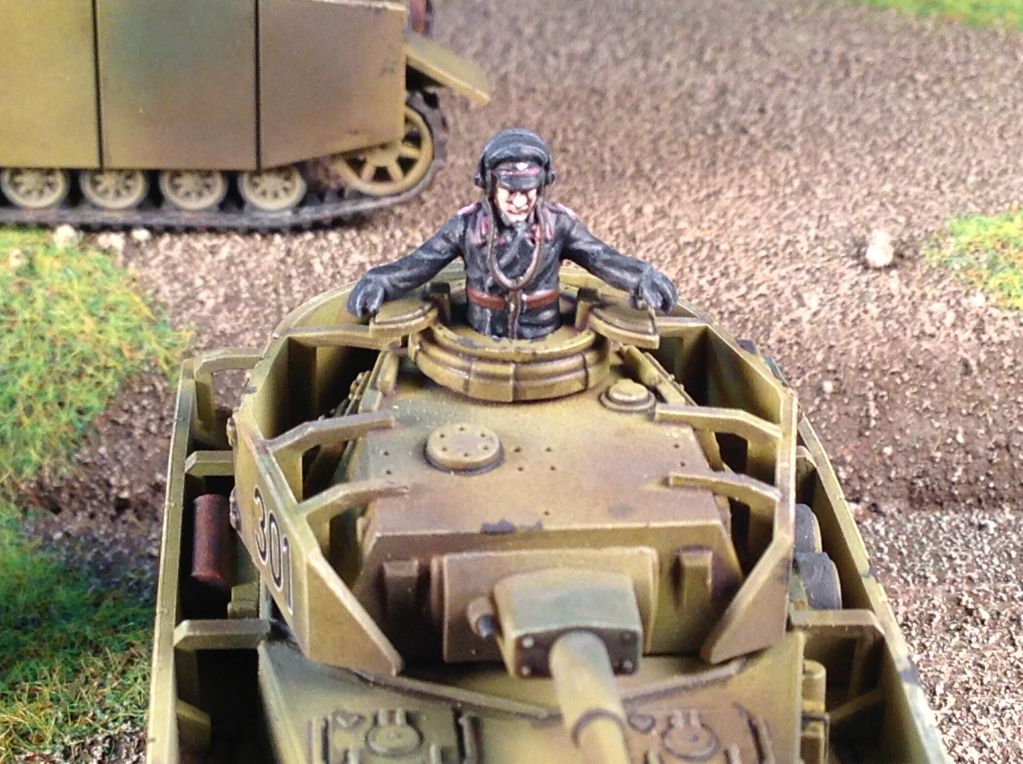
In the final photo you can see the panzer commander figure that came with the tank. 
So this is the beginning of my Grossdeutschland Division armored contingent with much more on the way.

Thanks for viewing...happy wargaming everybody,
Gareson

Sunday, March 03, 2013

German Artillery Crew and Zvezda Infantry Guns

I finished my first three Plastic Soldier Company German anti-tank gun crewmen. Here they are manning the Pak38 kit that they came with...


PSC Pak38 50mm Anti-Tank Gun with Crew
PSC Anti-Tank Gun Crew


PSC Anti-Tank Gun Crew

Below are some Zvezda 75mm Infantry Guns from their Art of Tactic line.  They came with crewmen(who have o.k. sculpts) but I plan to use the PSC artillerists as their attendants.  I did these a few weeks ago and having the new crewmen reminded me that I forgot to throw them on the blog...

Zvezda 75mm German Infantry Gun with PSC Crew
Zvezda Guns...

That's it for now...still plugging away on Panzer IVH's and more crew for the guns above. 

Happy Wargaming Everybody,
~Gareson


Saturday, March 02, 2013

German Pak 38 50mm Anti-Tank Guns

When I first heard that Plastic Soldier Company would be producing some 20mm(1/72 scale) German Anti-Tank Guns I was very excited.  After all, their Soviet AT Guns were great little kits.  This brand new kit(I couldn't even wait for it to hit U.S. stores, I imported it directly from the U.K.) comes with four guns in the box.  You can build either the Pak 38 50mm guns(which I did) or there is an optional barrel(and wheels) to mount the French 75mm Pak 97 gun which was a stop-gap measure of employing captured Allied artillery until the Pak 40 was ready for service. 


I painted these in a Vallejo Dark Yellow primer and Model Color basecoat(of the same hue) as I am modeling them as mid-war(Kursk).  I then gave them a spray of gloss varnish and a dark brown wash.  I did some pin washing of the bolts, tooling and welds.
I airbrushed the muzzle brakes with a misting of Vallejo black to simulate use.
The Plastic Soldier Company stuff comes without bases but this was easily rectified with a little plasticard(actually my favorite(cough, cheap) kind..."No Parking" signs from Home Depot cut to size with regular old scissors.   Note that the loose shell casings, shells and ammo boxes are included in the set(as well as 24 crew figures).

I now have boxes and boxes of minis, armor and AT guns waiting to be painted...but Plastic Soldier
Company's kits are so great...I just can't refuse(why their new 1/72 Panzer III's are under construction on my workbench as well).

Happy Wargaming Everybody,
~Gareson

Monday, February 18, 2013

Orthodox Church for Soviet Battlefields...

Well I've had some cozy little Eastern European style village buildings I scraped together several years ago but always wanted an Orthodox style church for my Soviet battlefields.  Yesterday, with some help from my son, I threw together a quick terrain piece...
 

The piece disassembles into several pieces(by design, not laziness!)...
(1) Main Structure: There is a floor inset in the tower so figures can populate the top portion. 
(2) Removable Dome Roof: This allows access to the tower and in the future I could swap a Western European style steeple to conver this to a Catholic/Protestant church.
(3) Eastern European style ribbed roof(anyone know the name for this style?).  Also could be swapped with shingled roof for a Western look.  Not attaching roof also allows figures access inside chapel.
(4) Detachable Base: A growing trend for me...not attaching a permant decorative base so terrain piece can be used on various other terrain types(snowscape and urban settings...in addition to grassy field style shown).  The four rectanglar notches are scraps of foamcore which settle the church onto the base.  I may later paint the floor a grey to represent stone. 

Construction Basics:
The main structure is of foamcore construction....standard fare.  In the pics above you can see the pins I have in place while the glue sets.  The pinholes they leave behind are easily obscured by the textured paint "stucco" that I add later.  The door was carved into the foamcore by removing a half circle of paper on the outside shell and carving the woode details into the foam within. 

I struggled with how to model the dome and then I scrounged my bits box and "Eureka!".  The larger piece is a wooden ball from Michael's Craft Store with a finial cap(another wooden bit attached).  I drilled in a hole in the top piece so I could put an Orthodox cross on top.  I left this piece unglued because I have a feeling with the wear and tear of wargaming...it will easily break(but no problem, I can construct a new one in 5 minutes if this ever happens). 

The roof is made of matting board(heavy cardboard) with matchsticks framing the structure(I have seen many photos of Eastern European battlefields depicting this style of roof but still can't find the name). 

As we speak my son's Soviet forces are destroying my German reconaissance company in the shadow if this very church in a game of Blitzkrieg :-(

Thanks for viewing....happy wargaming everybody!
~Gareson

Sunday, February 17, 2013

Soviet Anti Tank Power vs. Panzer 38T's

While I am putting the finishing touches on my new modular terrain boards(something I've wanted to make for years), I thought I'd throw up some pics of some "newer" minis in my painted collection of 20mm WWII figures(in group shots)...

First up, various Soviet T-70 Light Tanks, 45mm Anti-Tank Gun and Crew, Anti-Tank Rifle Team and a light Russian mortar in the background.  All miniatures are from Plastic Soldier Company.
The second shot shows some of my German infantry from Plastic Soldier Company.  Also in the shot is a 75mm Infantry Gun by Zvezda(from their Art of Tactic line) with the crewmen being Fantassin/Warmodelling.  The Panzer 38T light tanks are from Pegasus Hobbies. 
As I type my brand new Pak 38 German anti-tank kit is on its way to me from the U.K.(couldn't wait for U.S. stores to stock it so ordered it directly from PSC).  So excited to get this new kit...

1/72nd German Pak 38 anti tank gun1/72nd German Pak 38 anti tank gun

Also, my wife is being kind enough to build my Panzer IVH and Stug III kits from PSC in the meantime!

Thanks for viewing, happy wargaming everybody...
~William

Wednesday, February 13, 2013

A Few Germans and Soviet ATR Team...

Here are some Plastic Soldier Company Germans that I painted up....great figures with wonderfully casted details and clean lines....


And a Soviet Anti-Tank Rifle Team(Plastic Soldier Company)....

Monday, February 11, 2013

Soviet Anti-Tank Guns & Crew

Ever since reviving my enthusiasm for WWII miniatures one of the great pleasures has been discovering the fantastic line of plastic figures made by Plastic Soldier Company.  They are a pleasure to paint, easily customized and show real originality in terms of poses. 

(click on photos for larger images)
Here are my Soviet 45mm Anti-Tank guns with crewmen...
In reality each gun is crewed by four men but I haven't gotten around to painting more as of yet.  In fact, eight of the figures are from the artillery set and four are from the Russian Heavy weapons set intended as mortar crewmen(but I thought they mixed nicely).

Here is a shot of the crewmen without the guns...
The four figures on the left are from the 45mm AT gun set by PSC and the four on the right are from PSC's Russian Heavy Weapons set.

Finally, here is a shot of a 50mm Russian mortar and crewmen...
I've been painting 28mm Warmachine figures for so long that adjusting down to painting 20mm plastics is a bit of a challenge but my brush control is slowly adapting. 

Thanks for viewing...
~Gareson