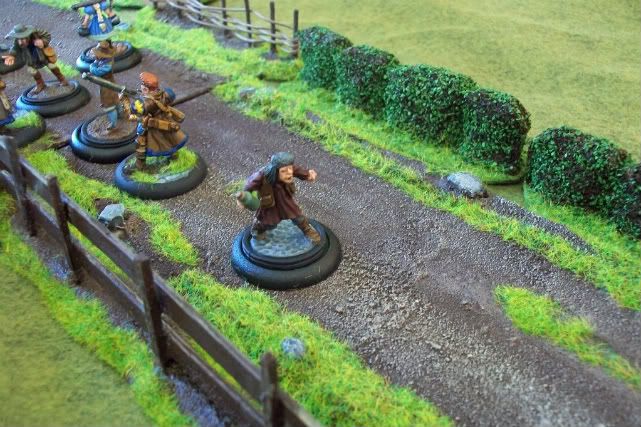
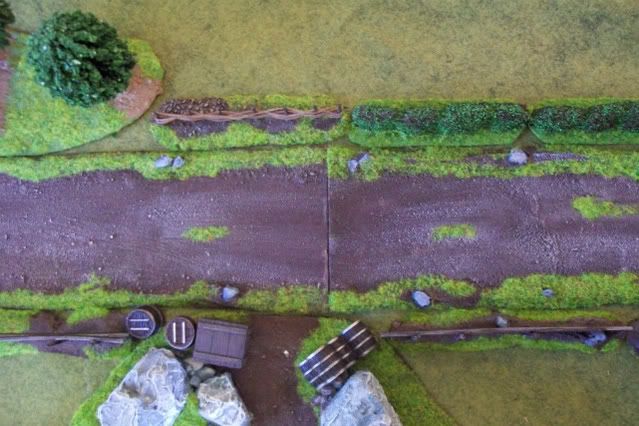
I had some people on my Youtube channel asking me how I made my dirt roads that are in some of my battle reports. As I finally got around to doing a terrain tutorial on these I thought I'd mention it here. My approach is simple, quick and inexpensive. Though it's nothing ground-breaking, it yields nice results for anyone looking to crank out some nice scenery in a short amount of time.
The materials used are...
-matting board
-caulking
-sand/kitty litter
-grass flocking
You can see a two part video tutorial on how to make these road sections, here...
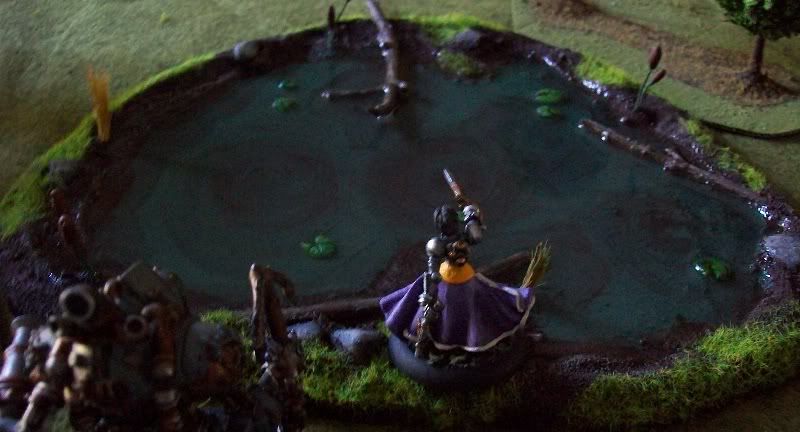
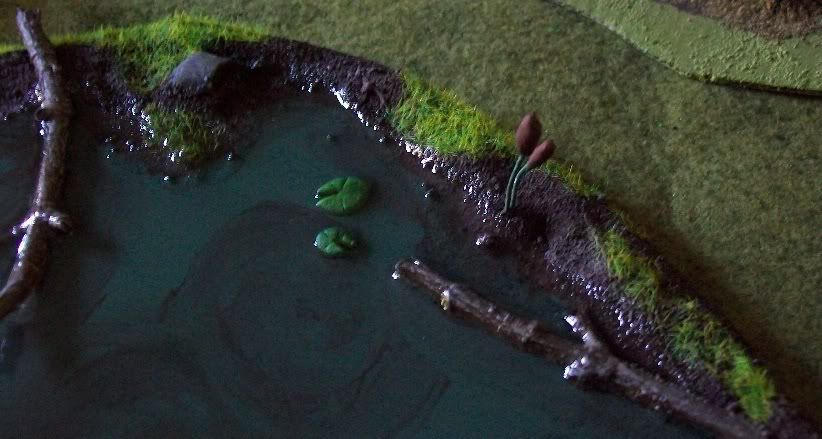
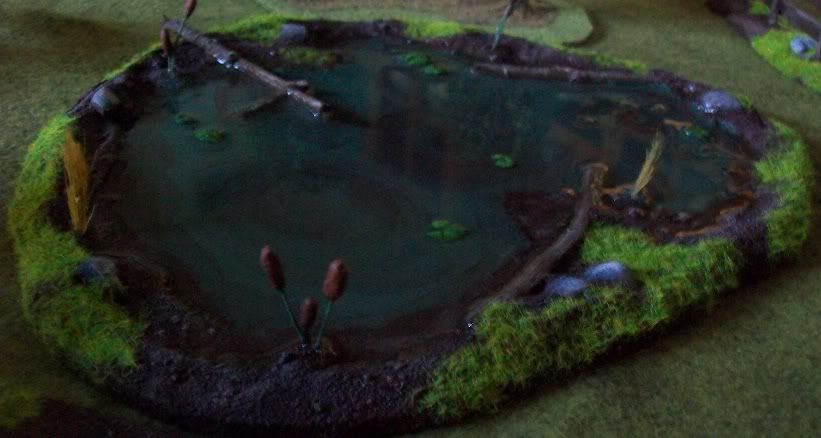
Inspired by my Mariner base, I wanted to create a nice swamp terrain piece for my Warmachine boards. I have made some of these in the past but with much more crude techniques- so I wanted to "take it to the next level". The project was a simple one using the following materials:
-hardboard(1/8") (for the base)
-spackle a.ka.a. "filler"(for embankment)
-twigs(for downed trees)
-small stones(for rocks)
-dress pins and green stuff(for cattails)
-make-up brush strands(for field grass)
-green stuff(for lily pads)
-sand/kitty litter mix(for dirt texture)
-Envirotex Lite(for water effect)
I was happy with the finished product. If you want a step-by-step tutorial, be sure to scroll down to the embedded videos or click here...
After a string of embarrassing, decisive losses, the chain has been broken; my Khadorians have finally triumphed! GDog played Cygnar and chose Stryker as his warcaster, while I brought Irusk with his red horde in tow. It was a great game. From the beginning I was used the nice range of my Winterguard Mortar Crew and Bull to slice up his infantry. However, once the heavies were engaged, his Ironclad and Mule were getting the better of my Destroyer and Juggernaut. However, in the end, superior numbers allowed me to give him too many targets, and for me to nip away at Stryker.
See the full video Battle Report below(double click to open in a regular window):
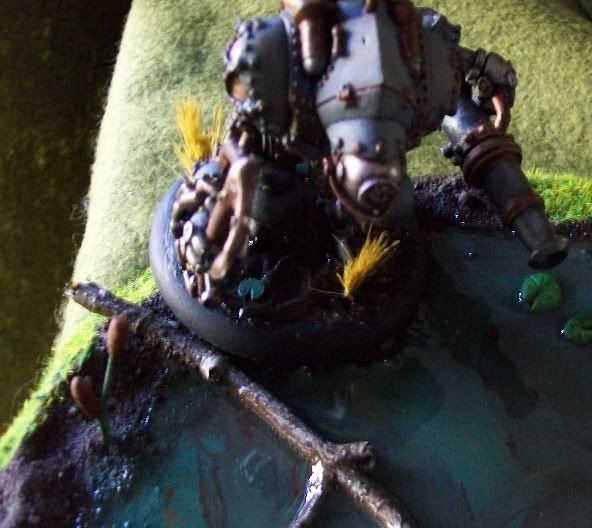
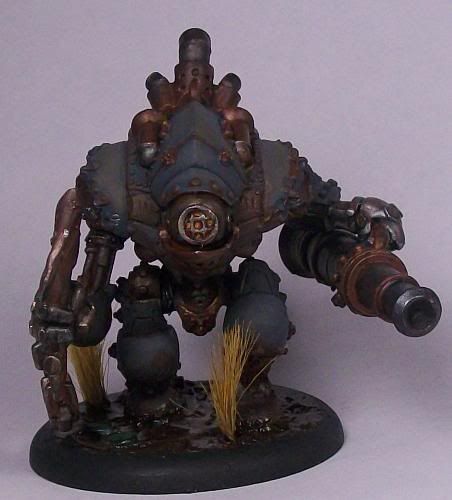
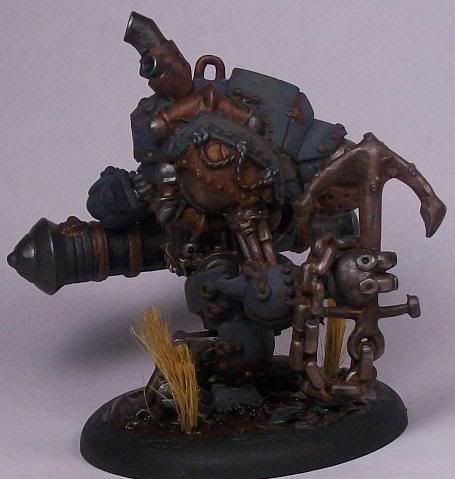
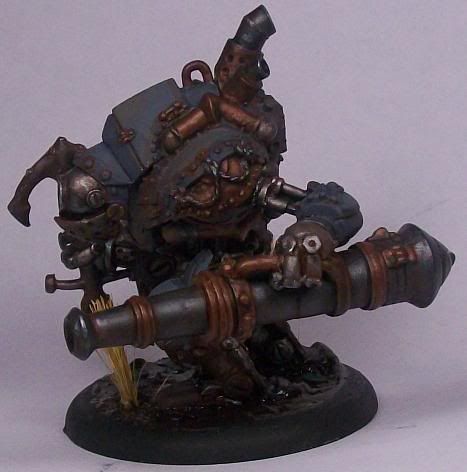
Envisioning my Mariner as a forgotten 'jack tucked away amongst the refuse of a dockside warehouse, I wanted to give it a "mucky", dirty and rusted look as if its only barely fit for duty. I want the thing to look like it's going to creak and grind as its oxidized limbs try to move the behemoth inland from the marshy coast.
(scroll down for video)
I went a little rust crazy(and muck crazy) to get the effect I was looking for...
My quest to find suitable "townspeople" and civilians to populate my Iron Kingdoms terrain has led me to discover a plethora of great figures that fit this theme. Knowing that there may be others out there interested in similar figures I will share my discoveries with others through Iron Kingdoms at War's new sister blog: Tiny Townfolk. Be sure to visit the link below to see the blog: Tiny Townsfolk Blog
I will regularly update the blog with newly painted figures and point you to where you can acquire these figures if interested.
Having decided to build a Highborn Covenant Merc Army I was immediately attracted to the very versatile and tactically useful Devil Dogs unit. In addition to their array of melee, ranged and special abilities, as well as their solid stat line, Sam is a Jack Marshall who can drive up to two Merc Warjacks. Essentially, that means the Devil Dogs are practically an army in their own right when on the field.
The Slug Guns of the Devil Dogs are VERY short range but high power weapons, but the Pick Axes they all carry for melee deal extra damage to knocked down models- convenient given that one of the Dogs carries a metal net with which to knock down enemy 'jacks.
They were a pleasure to paint, and each sculpt in the six figure box set is a unique sculpt. Click below to see my "Video Figure Feature" for more information...
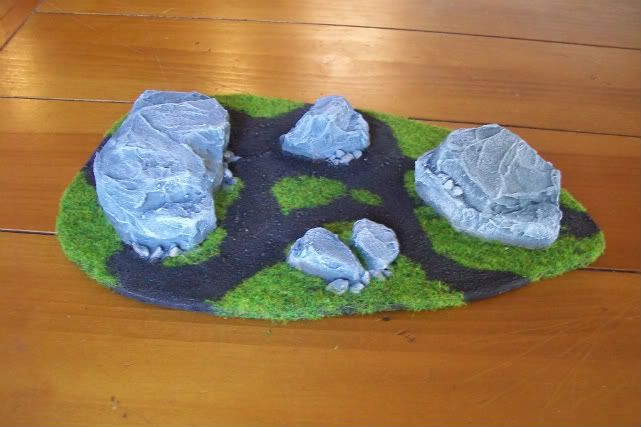
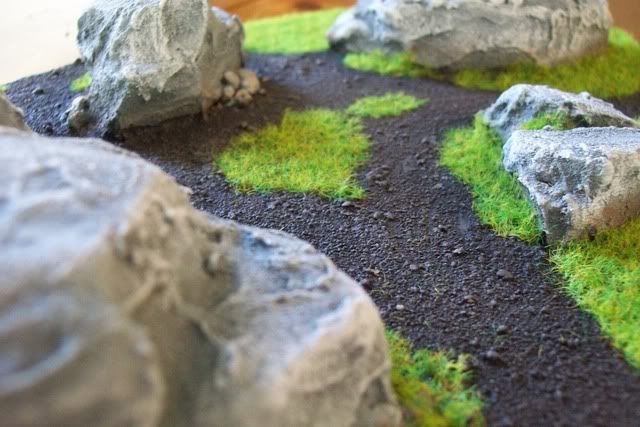
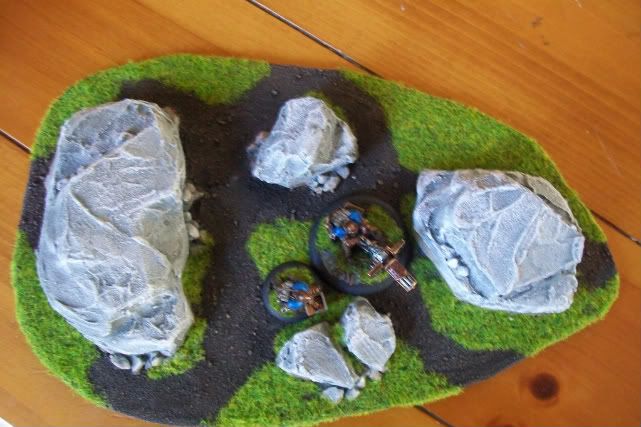
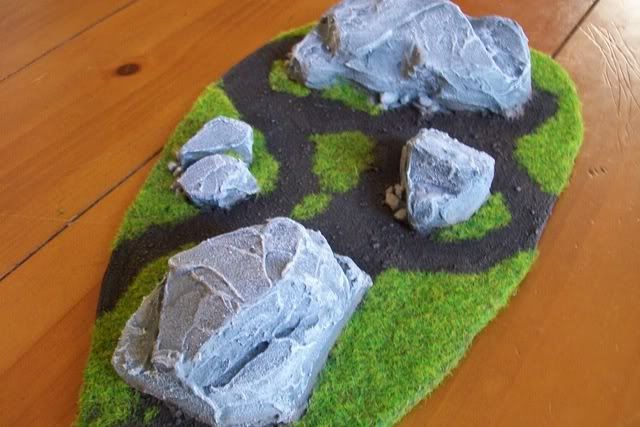
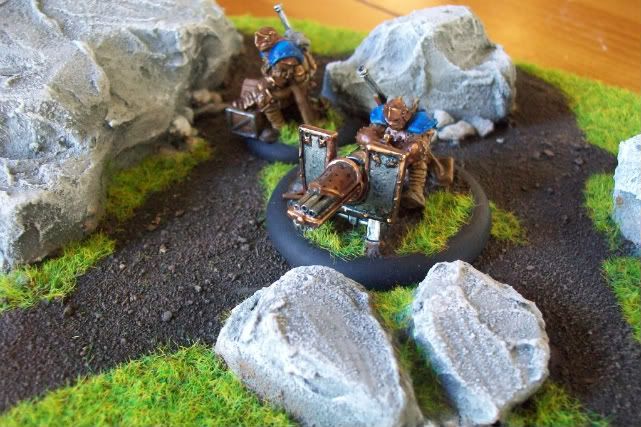
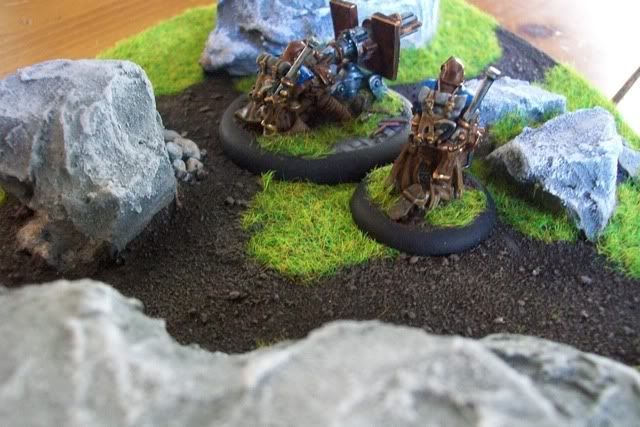
Recently I completed a "Rocky Outcropping" piece of difficult terrain for my Warmachine battlefields. It is mainly comprised of blue styrofoam(2") boulders plastered with Liquitex Stucco(for the stone effect). I designed the piece not as a solid obstacle but to allow for the movement of minis through the terrain(with cover). I may add a little foliage, but its already a functional bit of terrain. This is a great alternative to similar pieces made by Pegasus Hobbies, and you can knock these off in no time!
Below are some stills, but please be sure to check out my video tutorials for more information...
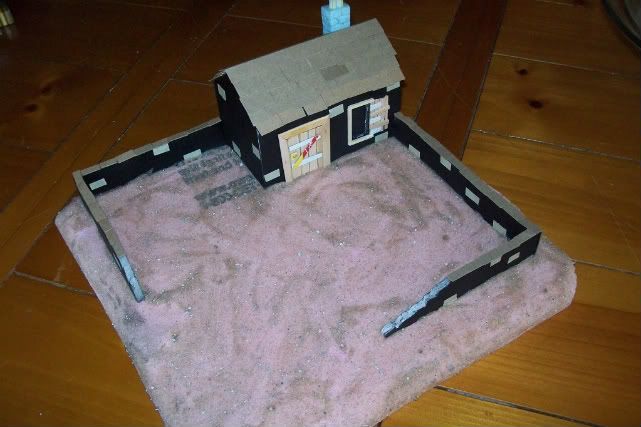
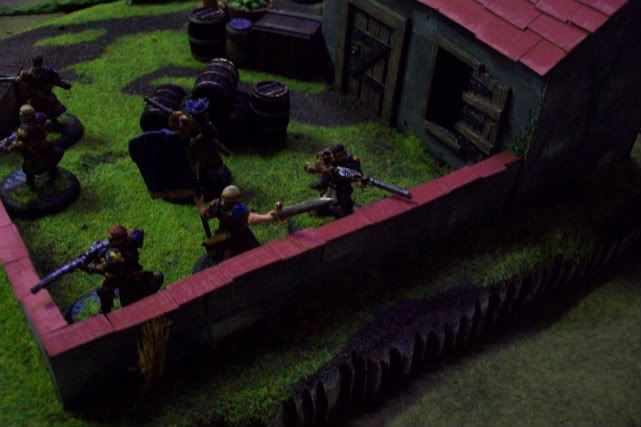
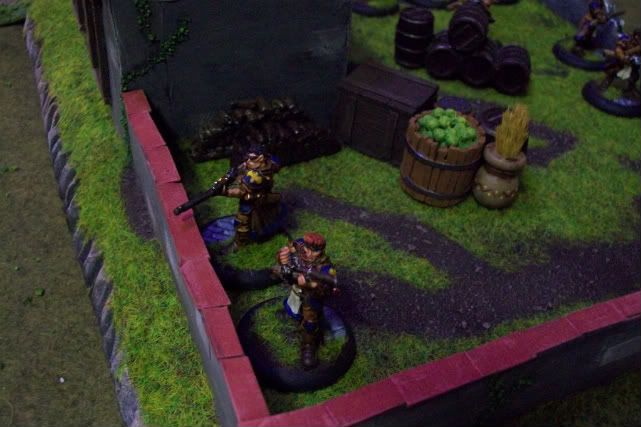
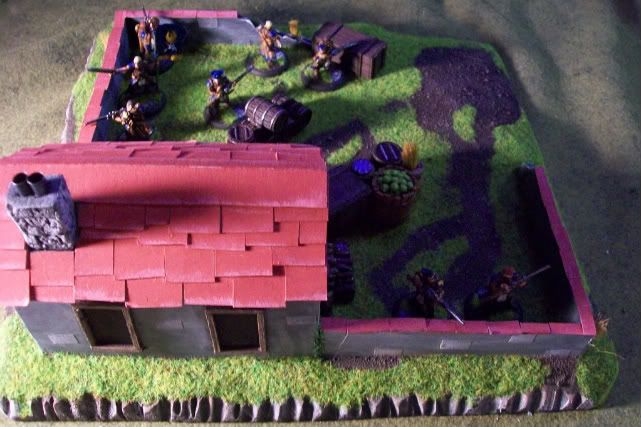
I recently completed a small "Rural Homestead" which consists of a small cottage with adjoining stone walls on a slight elevation. It has a squarish base as I was going for the "wargamey" over "realism" approach. Below are some stills, but if you scroll down you can see a four part tutorial on how to make the piece as well as a video describing its painting/flocking...
I have completed a six part video tutorial for how to make a Warjack Repair Shop for your Warmachine battlefield. Though I suppose the regular armies of Khador and Cygnar have their own, advanced facilities for mechanics, I pictured a small row-house type garage where locals service 'jacks that are 'just passing through' their town. Or, perhaps this is a simple little shop where the likes of Dirty Meg service shoestring machines like Mules and Mariners! Here are some shots of the unpainted(except for priming) structure. I will have the model painted up in the future and be sure to post that here. Be sure to scroll down to the video tutorials...
Most wargamers know that there's a lot of great terrain products, including small details(sandbags, barrels, crates, etc.), out on the market. Although I am a consistent consumer of those items(love the Pegasus Hobbies pieces) myself, I sought to 'homebrew' a few bits myself to showcase some inexpensive alternatives. Below are some pics of items I 'dressed up' for Warmachine boards, or you can visit my Youtube tutorial on these small items. If you are new to terrain-building, and looking for a simple project to "cut your teeth" on, here ya go...
The first item is my 'fruit basket". The structure is basically an inverted cap to a spray bottle(such as cleaners, tanning spray lotions, etc.) with balsa bits on the outside. I ringed these with cardboard to create the metal 'rims'. I filled up the bottle cap with foam and placed my "fruit"(in this case, peppercorns) on top. After painting, I had a nice fruit basket...
Second, I found some nice wooden crafts bits(Finial Dowel Cap) at a Michael's that were well suited to becoming "urns" or pottery for my market. I painted them tan, washed them with a brown ink, and added a simple design. I filled the urn with some bristles from a make-up brush(field grass would do as well)...
Finally, I've been looking for a while for wooden craft bits that resemble barrels. Found 'em at Hobby Lobby. These "mini pickle barrels" are to scale and just needed a little dressing up. I tried to carve in the planks but that didn't work out too well- so I drew on the vertical planking lines with a paint marker(fine tip)...
So there you have it- I estimate that for under $7 dollars(including peppercorns!) you could have nine barrels, six urns and 3-4 fruit baskets- not bad!
For a video description of this project click on the video link below...
My next terrain project will be a Warjack Repair Shop!
I have finished painting up the simple bunker for my Warmachine battlefield. You can see the video tutorial here on how I went about painting it. It's a very functional piece and its size is designed to provide cover to a unit of 8-9 men as you can see in the still pics below. Scroll to the bottom for an embedded video of the painting tutorial.
They're not going to overpower your foe, but with their dual shots and impressive range they will, at a minimum, agitate the opponent. These guys were more difficult to paint that some of the other WM minis that I've done so far but I am pretty happy with the final effect. Plus, you can take these lads in a Highborn Syndicate Mercenary Army!
The bases for my Cygnarians are what I call my "Ancient Ruins" effect. I covered half the base with a standard sand(which became dirt) that was flocked with a Spring colored static grass. The other half was spackle into which I carved the ancient bricks.
lI have uploaded another five part video tutorial project to my Youtube Channel. This time the subject is the construction of a simple bunker for your Warmachines battlefields. Below you can see a couple of "work in progress" shots of the terrain piece, but be sure to check out the Youtube vids for a more detailed explanation of construction...
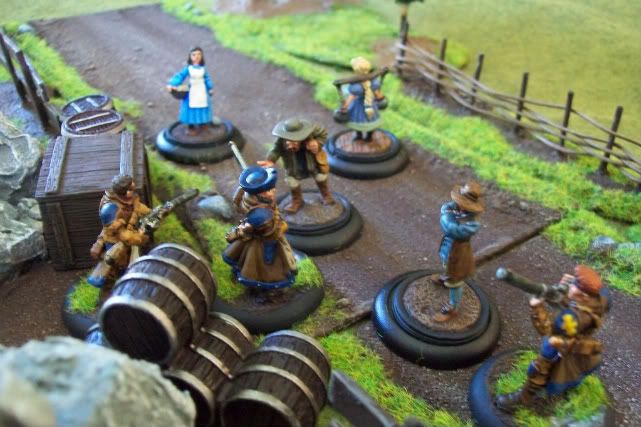





 My quest to find suitable "townspeople" and civilians to populate my Iron Kingdoms terrain has led me to discover a plethora of great figures that fit this theme. Knowing that there may be others out there interested in similar figures I will share my discoveries with others through Iron Kingdoms at War's new sister blog: Tiny Townfolk. Be sure to visit the link below to see the blog: