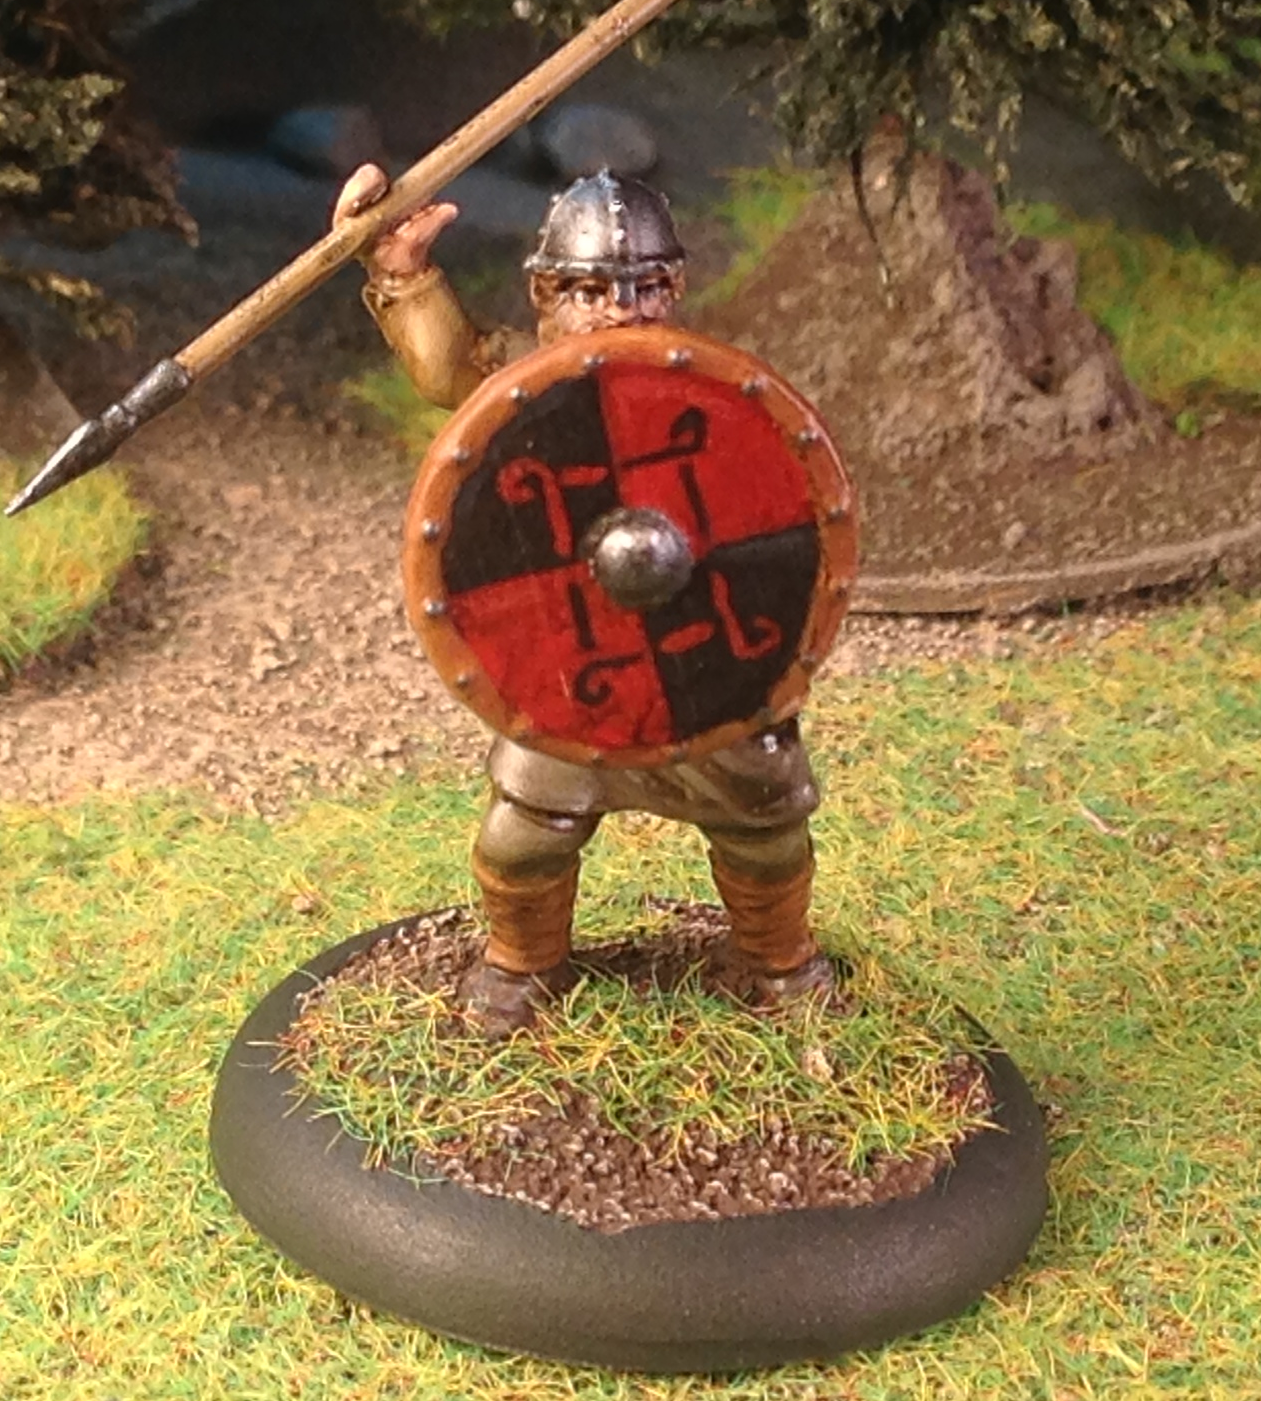
Thursday, April 04, 2013

Wattle Fencing for Wargames

Dark Ages England, World War II's Eastern Front...and Trollbloods?  What do they have in common?...they could all use some wattle fencing!  In my effort to create some more "do it yourself" terrain for Saga(Dark Ages Skirmish Game), I have played around with making some crude, wattle fencing scenery pieces for my gaming table.  These could be used for just about any era of historical wargaming or fantasy wargaming.

Since my experiment met with (at least what seemed to me to be) success, I thought I'd share a complete terrain tutorial on the method and materials that I used.  I actually built the fences using two different materials, so I will share both methods....

Method #1: Wattle Fencing from Twigs...
As I was walkign around in my yard, I noticed a lot of post-Winter debris including twigs of various sizes...these would be the basic material for my wattle fences. If you don't have access to natural material, scroll down to Method #2 below for an alternative.
First let me list the materials that I used for the "twig" variety.  As shown above:
1)wooden dowels(from a craft store...round tooth picks could suffice)
2)the dowels cut into small pieces
3)small twigs
4)cardboard("card" to my European friends)
5)a pin vice(an x-acto knife could be used instead)
6)white glue(a.k.a. PVA glue)
The first thing I did was drill some small holes in the cardboard base that the cut dowel pieces(acting as our fence posts) would be glued into.  Below you can see them glued into place...
It is very important that you let the glue holding the dowels/posts in place thoroughly dry before going on to the next step, as threading the twigs between the dowels will place some stain on them, and if the glue isn't drying they will "lean" or even pop out of their hole. 
Now comes the fun part(as shown above).  Start to thread your twigs in between the posts.  I add a little dab of glue where the twigs make contact with the posts.  As far as the length of the twigs goes, I precut them down to the size I needed for the particular base I was using.  A good rule of thumb is to make sure they extend beyond the outer posts to the edge of the base.  That way, when you connect various fencing pieces together, you get a contiguous wall. 
Above you can see the completed piece with all of the twigs in place.  You could easily adapt this approach for longer or shorter(see below) sections of fencing.  Finally, here is the painted and based wattle fencing section:
Note that some wattle fences have more posts and a tighter weave.  These are well modeled by kits such as the Renedra one, but I wanted something more rustic looking(if you search the web for "wattle fencing", you'll find images of both types.  You could easily use the same method I did above for the tighter weave...just add more posts and used more pliable floral or soldering wire as your horizontal weave. 


Method #2: Wattle Fencing from Leather Cord...
So let's you say you don't live in a wooded area as I do or have access to twigs...what do you do?  Another option is to use leather cording available in craft stores(sometimes even the craft section of discount stores).  Let me go over the materials for this alternative approach:
For this method I used...
1)leather cording
2)leather cording(cut to length)
3)a ready to go base of cardboard & dowels(see above)
4)pins
5)super glue

This method is a little more labor intensive but still pretty easy.  You start by making a base just as with the twig method...
...then you weave the leather cord pieces in between the posts.  Now there are a couple of nuiances to this procedure.  First, because the cord comes wrapped around it's cardboard packaging it tends to curl.  After cutting the bits, I curled the cording around a pencil in different directions and flexed it between my fingers to straighten it out somewhat.  When I placed it between the posts(as shown above), I superglued the cord(generously!) to the posts where it made contact.  Because the cord isn't as rigid as the twigs, I used pins to hold it next to the dowels while the superglue dried.
As I added additional leather cording, I added pins on the reverse sides to hold these new bits in place as the glue dried.  This became an easy path for me thread addtitional pieces into.  Finally, when all the pieces were in place and the glue was dry, I removed the pins and had this...
Once the piece was given base texture and paint it came out like...
One advantage of the cord option could be that you could thread longer sections and corner pieces without worrying about the length limitations of the twigs.  Now if you're thining the twig version looks a little better, I concurr.  However, when we compare the two pieces side by sid, after using the same basing and painting technique, the difference is fairly negligable...
Two of the above pieces are the leather variety(upper left and upper right) while two are the twig type(lower left and lower right).  Can they be used together? You be the judge...
Now that I have a method for these fences that I like plan to churn them out in good number.  They're easy and cheap to make, that is for sure.  If you find this helpful or have any insights of your own, feel free to leave a comment.

Thanks for viewing and reading....
~Gareson

Wednesday, April 03, 2013

My First Dark Ages Terrain: Anglo-Saxon Tent

Since within a few weeks I should have enough Saga minis to start hitting my gaming table, I thought I'd better get cracking on some Dark Ages terrain.  I've got plenty of walls, hedges, trees, etc...but I will need some distinctively Medieval structures to compliment them!  After browsing the net and noticing the very well done Renedra Anglo-Saxon tent sets...I decided to make my own.  Don't get me wrong, the Renedra set is priced right and well-modeled, but right now I'd rather spend my hobby money on more figures for my warbands. 
For my first attempt I am pretty happy with the result.  Furthermore, the price was right: free!  Well, admittedly I had the materials laying around but even if you had to purchase them the cost would be minimal(and odds are, you already have the needed items on hand).
The basic supplies I used to construct the tent were heavy cardboard(matting board) and bamboo skewers for the structure.   I used skewers for the poles at the ends of the tent, along the top and along the flanks(where they were glued to the card to disguise the smooth structure of the card).  For the tent fabric I used "Viva" Paper Towel which I cut into srips and glued to the structure using Mod Podge(a craft sealer...essentially it is watered down P.V.A./White Glue).  I then brushed the whole tent with a thick coat of Mod Podge for three reasons:
1.to harden the shell so it wouldn't tear or break during use
2.to help the "canvas" of the paper towel form to the stucture
3.to create a surface that would take the paint better
I applied dirt texture(sand/kitty litter) to the base which I painted and flocked. 

The whole project took me about 20-25 minutes to build and around an equal time to paint.  So for under an hour, and at no cost, I have a nice looking Saxon tent for my Saga battlefield.  You could easily use the same technique to make tents of various sizes and for other settings(both historical and fantasy).  In fact, I may make some for my Warmachine battles down the line as well!

If anyone would be interested in a more thorough walkthrough with "work in progress" photos, just say so in the comments section and I will gladly be sure to put a post together next time I make a tent(which should be soon).

Thanks for viewing,
~Gareson

Monday, April 01, 2013

Viking Warriors for Saga(1/2 point)

My endeavor to complete the painting of a small Viking warband for Saga over my vacation continues.  This time, I've done 1/2 a unit of Viking Warriors...
(click photos for larger images)
These figures were also plastics but from Wargames Foundry(their "Viking Bondi" set).  I really like the poseability of these figures although the details are rather subtle.  However, for medium/low quality Dark Ages warriors...they would have simple gear.
I used quite an array of paints to mix up the colors on the guys.  By the time I was done I realized just how many ranges I had utilized: Vallejo Model Color, Vallejo Game Color, Vallejo Model Air, Reaper Master Series, Reaper HD, P3 Paints, Wargames Foundry and even some 30 year old Ral Partha paint pots!  The pelt on the figure to the left was hand made from Lumina air drying clay...which is quickly become my favorite modeling tool!
I like the shields on the Wargames Foundry figures better than the Gripping Beast ones...because I like the rivets around the edge.  I debated whether or not to paint the rim as metal or leather...I opted for the latter(I did some internet research and found that both were used).
Painting the shields on these guys is definitely the most challenging but fun part of the project.  Below you can see how I carved some planks into the shield with an x-acto knife...I figured for my lesser quality warrior troops they might not have the fancy shield coverings..
And finally, the bald guy....
I am going to do a another unit of Hearthguard before I do the other 1/2 of this warrior unit.  I like to paint no more figures than four at a time to avoid unit painting burnout. 

That's all for now....happy belated Easter to everyone!
~Gareson

Friday, March 29, 2013

The Saga Begins...

Well...it's a start.  Now that Battlegroup Kursk has been giving me the historical wargamign itch again, I have been searching for another era to game.  I think I found the game: Saga-Dark Ages Skirmish Game. Here are my first footsoldeirs which are the beginning of my Viking warband.  Hearthguard...
Well it has been a while since I did 28mm figures and, as you can see, I am darn rusty!  It's o.k. though because I know within the next 4-8 figures I'll have my brush control back. 

That being said, I loved these little guys from Gripping Beast's plastics range.  I assembled these guys and painted them within just a few hours.  I'll probably end up springing for the shield decals by Gripping Beast but I wanted to do some freehand ones(I feel like I'm cheating with decals!). 
My plan is to build a Viking warband as well as an Anglo-Danish one.  Then I can introduce the game to my students in the Military History Club....I think they'll like it.  My Saga rulebook is backordered from Michigan Toy Soldier Company(remind me to rant about their customer service sometime...). 
As I am at the beginning of my Spring Break, I am hoping to have a small Viking warband done before my vacation is over.

Thanks for viewing...
~Gareson

Sunday, March 24, 2013

Inexpensive Model Transport and Basing Alternative...

My $5 storage box(without the lid on)...

One of the things I struggle with as both a modeler who wargames at home and advisor to the Military History Club at the high school where I teach(Military History amongst other subjects), is how to transport my models and figures between home and school.  I have a fancy BattleFoam case for my Warmachine figures but I don't want to invest that kind of money again into army transports. 
Years ago I bought some K & J magnets(see link to the right on this blog) so I could convert a plastic warjack kit so it could have swappable arms, weapons and heads(see this post). I decided to put my extra magnets to use for two purposes...both for army transport and for basing of armor.  I shook my box up a bit and the tanks barely shifted...which meaning this should work well for carrying them back and forth to my club.
With some tanks removed.

I used a regular plastic scrapbooking container(I believe I bought this at Target for $5 a couple of years ago) and glued in some magnetic strips that I bought at Staples for about the same price(it comes in a roll).  The magnetic strip has paper on one side and an adhesive so you could, in theory, just tape these into your box.  However, I went ahead and white glued(Weldbond) the strips into the bottom of the container just to be sure(because the stripping comes in a roll, it could curl on you). I put some heavy books on top of the strips(into the box) while they dried. If you wanted to, you could glue some cardboard or foamcore beneath the magnetic strips to raise the magnetic material up closer to the hull of the tank(if your magnets on the bottom of the tank are shallow, this might be the way to go...you can see in the pic above that I did this for a couple of the strips).  For you fantasy or 28mm historical gamers, just glue a small magnet inslip the lip of your base(such as the Privateer Press variety) and you could carry your minis the same way.  You could even do this for Warjacks from Warmachine(anything you can attach a magnet under).
The not so pretty angle of my tank models where I glued the magnets...
Then I took my tank models and attached a small magnet to the bottom of each one using a dab of superglue.  The magnets I used were 1/8" by 3/32"(kit D203 K&J magnetics) but any magnets with a strong power should do.  You could even glue more plastic strip to the bottom of the tanks from the roll you used from the box(but I don't trust this because it's magentic hold is not as strong as the K&J magnets(which are very much like Rare Earth magnets which many of you may be familiar with.  I found that all of the Plastic Soldier Company tanks had a bottom hull about the same distance off the ground so these magnets were the right depth to contact with the strip in the box.  However, the Armourfast T-34's I had were a little higher, so(as shown above) I used some green stuff to lower the depression of the magnet so it would contact the box strip.

A PSC Panzer III on a detachable(magnetized) base.
Now off the base..note the magnetic strip on the base.
Here is the fun part.  I personally prefer unbased tank models for gaming but I do like the "finished" look that a based tank has when I see them on the blogs and websites of others.  Now I can have the best of both worlds due to the magnets.  I put some magnetic strip on a base which I raised up a bit by gluing it to a small block of foamcore.  I then used some putty to even out the ground around this magnet and did applied my usual dirt texture/static grass for the base.  Now I have a nice little movement/display base for my tank.


The same base now hosting a T-34.
The best part is, I can mass produce these and even swap out different tanks on them(as shown above).  For those that don't like have a winter-based tank on Spring green board, consider this alternative way of tank basing...you could swap out a Spring base for a snow base(or urban/desert, etc.) for any of your armor models!

Well, that's it for now. Whether you are a historical or fantasy gamer, I hope you can use this method of transport and/or basing for your own collection.

Thanks for viewing...happy wargaming everybody!
~Gareson

Friday, March 22, 2013

German T-34's?

Well, after painting up my Plastic Soldier Company T-34's I could barely stand to look at my first generation Armourfast one's which looked like the rough mockup for the better PSC kit at best.  What do you do with old Soviet tanks that don't mix well with their newer counterparts? Give them to the Germans!...
As you can see I painted over my old Armourfast T-34/76 models with some rudimentary German camo.  I didn't spend that much time on these to be honest...just enough of a makeover to field them as auxiliary units in my German BattleGroup Kursk battlegroup(which the rules allow for by the way). I always find it interesting that the a German SS battalion at Kursk fielded captured and repurposed T-34's.
I like the way the German scheme disguises the simplicity of this kit's design.  It was an o.k. model for it's day...but it is just too short on details.  That being said, it will be fun to pit T-34's against T-34's.  My money's on the German crews.
Well, they'll do for a quick job on a rough model...thanks for viewing everyone.

Thursday, March 21, 2013

Panzer III's Vorwarts!

When I first saw the Plastic Soldier Company 1/72 Panzer III kits announced I was pretty excited because I loved the other German armor they'd already put out in the scale.  This relatively new box set comes with three Panzer IIIG or H model tanks(I modeled the H).
The kit was very easy to assemble and each complete tank used parts from a single sprue...everything fit together well.  The only hiccup was a slight molding error(a small pinhole on the top of the gun assembly) that I filled with some green stuff. 

I've been playing around with washes lately and I am very happy to say that I finally have a method that I am happy with.  After basecoating the model with Vallejo Model Air colors, I sealed each tank with a straight out of the bottle airbrushed coat of Pledge Floor Care Multi-Surface Finish.  This is the same product known as "Future" except they have dropped the future logo altogether(I called the manufacturer to confirm it is the same thing).  I used this as a perfect gloss sealer of the painting before going on to washes.
Speaking of my wash...
I used a "Magic Wash" homebrewed Dark Umber wash using the following:
-4 parts water
-1 part Pledge Finish(see above)
-1 dropper of Liquitex Umber Ink
-1 dropper of Liquitex Black Ink
This wash perfectly found it's way into the panel and hatch lines around the model while having almost no effect on  the overall hue of the model.  Below you can see one  of my Panzer IVH's from PSC next to the Panzer III.  For the Panzer IV I used Vallejo Umber Wash and it really shaded the model and took down the colors. Additionally, I had to go in and do a pin wash of black wash on the panel lines of the Panzer IV manually.  Note that on the Panzer III, using the method described above, I just did a straight out overall wash of the Pledge/Ink magic wash and the details are even crisper that with the previous pinwashing on the Mark IV(note: for the two tanks below I used identical basecoating/highlighting methods...but note how much more effective the wash was on the Panzer III(bottom)). 
I finished up the model with a blast of Testor's Dullcoat to knock out the shine and mud pigments from Vallejo.  I love these little "Panzer Dreis" and they will make a nice addition to my German army. 
Thanks for viewing/reading...happy wargaming everybody.
~Gareson

P.S. More bad news about the way Games Workshop treats retailers and gamers today...SO GLAD I dropped that game and company years ago! 

Sunday, March 17, 2013

T-34's Ready For Action...

 
PSC T-34 with 76mm turret
The first "easy assembly" kits I ever built were Armourfast T-34's.  I thought they were pretty nice at the time, but these Plastic Soldier Company 1/72 T-34's blow them away.  Furthermore, when I bought the old Armourfast kits(which aren't nearly as detailed), I had to buy different boxes for the T-34/76 and T-34/85 tanks...even though they provided identical chassis(just a different turret sprues).   PSC has been considerate enough to include both variant turrets in a single box!
PSC T-34 with 85mm turret

All of the PSC kits that I have built so far are well-designed but these were some of the easiest to assemble(especially as the tracks are one piece).  I didn't modify the kits at all except for a few stowage pieces from my bits box(German jerry cans from the Panzer IV kit, a twig, other random bits).  I am especially pleased with the look of the twig, used to model a traction/mud log, because I attached it...primed it...painted it...and it ended up looking exactly like the original wood piece did!
As far as painting, as with my previous Soviet armor, I went with a little bit of a lighter green rather than the darker hue that true Soviet armor would have sported.  I actually used the recipe from the Battlegroup Kursk rulebook tutorial(with exception of using  Dark Green Vallejo Primer).  I basecoated with Russian Green and then highlighted with Interior Green(both Vallejo Model Air).  The hit the raised outlines of the tank with some Hemp(Vallejo Model Air) that I drybrushed and line in.

After that I gave the whole thing a glosscoat of Vallejo Gloss Medium airbrushed on.  I followed this with a oil wash use Winsor & Newton Umber oil paint from a tube mixed with Turpenoid.  Next time I will use Mineral Spirits because the Turpenoid was extremely glossy and slow to dry. In fact, it took me several coats of Testor's Dullcoat to knock down the shine after it dried.  Before the wash I hand-painted all the slogans.  There are some nice decals for this...but I prefer to hand do them because I like the haphazard look of unevenly scribed mottos that the soldiers themselves would have painted on.
As a finishing touch I added some mud pigments to the wheels and lower hull of the tank(front and back).

Having not painted armor for many years there are many techniques I am re-learning and new ones that I am catching up with.  I am sure that with more practice I will refine these skills.

Finally, here is a shot of my next trio of Plastic Soldier Company tanks that is (clearly) a work in progress...I have merely begun work on these tanks and have a lot of work to do yet...
Well, that's it for now...thanks for viewing everyone!

Happy wargaming everybody...
~Gareson

Sunday, March 10, 2013

T70's Light Tanks and Refurbushed Soviet Armor...

I finally finished painting up these Soviet T-70 light tanks from Plastic Solider Company.  I love these two man little AFV's and they are a nice addition to the usual T-34 and KV mediums you uusally see on the battlefield...
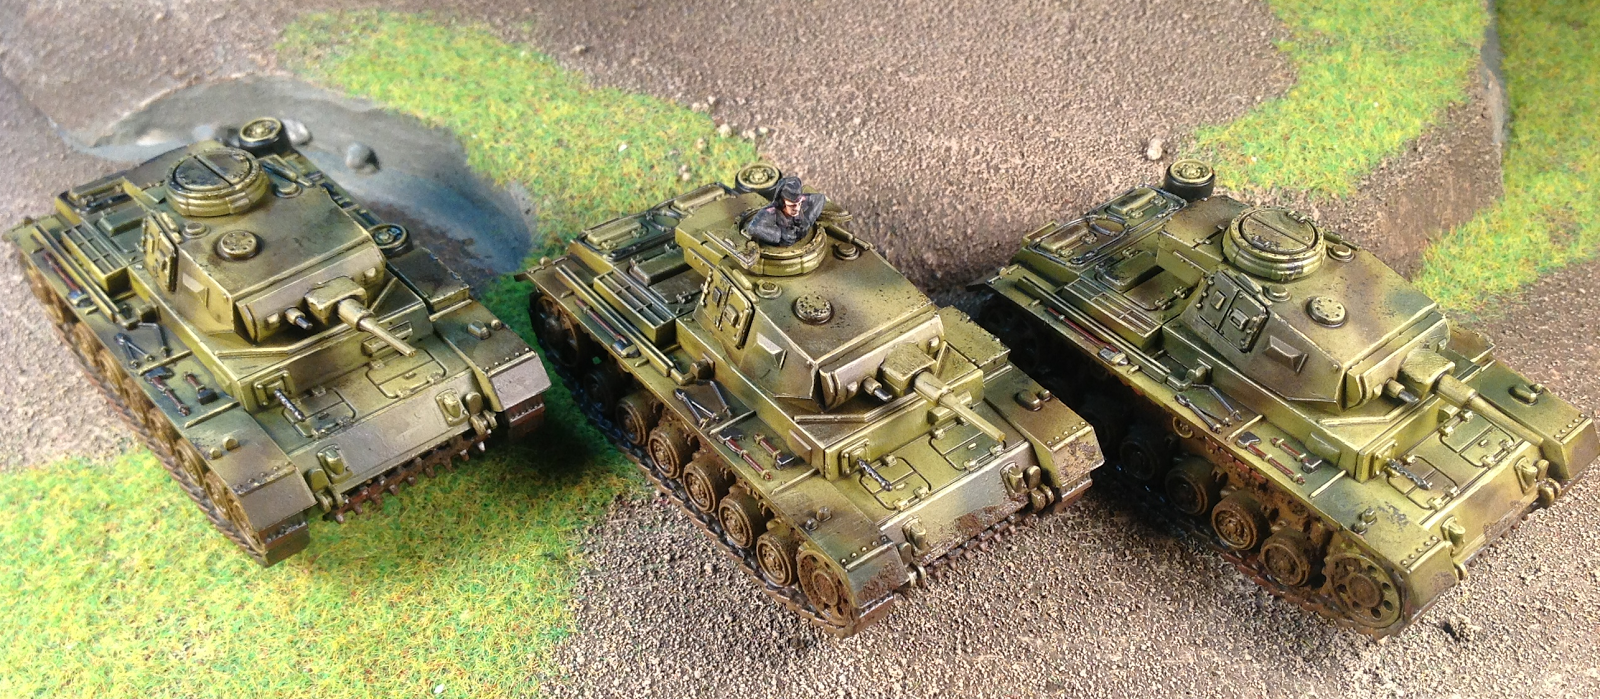
(click on any photos for larger images).
 
I roughly used the colors suggested by the Battlegroup Kursk rulebook in their T-34 painting tutorial section(with the exception of starting with Vallejo's Dark Green Primer over Black). I know Soviet armor would have been a bit of darker green but I like the look of the lighter hue on 1/72 scale tanks in terms of bringing out the details of the models.   From primer to highlights here is what I used(applied via airbrush)...
Primer: Vallejo Dark Green Primer
Basecoat: Vallejo Russian Green Model Air
1st Highlight: Vallejo Interior Green Model Air
2nd Highlight: Vallejo Interior Green Model Air + White Model Air
3rd Highlight: Vallejo Hemp Model Air(applied via detail brush to seems/details)
After applying the basic greens I applied a generous glosscoat of Vallejo gloss to the models.  In reptospect, I applied too many coats of this because I lost some of the detail on the rivets when I went to pinwash.  After glossing, I gave the tanks a wash of Vallejo Umber Wash and pin-washed with Reaper Brown Liner.  I really want to experiment with oil paints for washes as often suggested online but I am not brave enough yet as I have worked only with acryllics. 
After matte-coating the models(again Vallejo) I applied some sublte mud/exhaust effects with the Tamiya weathering kit.  I also went back and painted up the headlight and gave it a glosscoat. 

I also refurbished some very old models that have seen heavy abuse on the wargaming table over the years.  Both had some broken bits and lousy paintjobs but I believe I have them ready for the gaming table again.  First, my Pegasus Hobbies(I think) Su-152.  The slogan on the side(in Russian) reads "revenge".
and my old BA-10(pretty sure it was UM Models)..  The BA-10 is missing a headlight and I had to borrow a spare wheel off the side for road use, but...you know, "battle damage".
Here are the three together.  Note how the heavy SU-152 dwarfs its lighter comrades...
As far as the future, I have some T-34's in the works as well as some Panzer III's. 
Happy wargaming everbody, and thanks for viewing...
~Gareson