Well I've had some cozy little Eastern European style village buildings I scraped together several years ago but always wanted an Orthodox style church for my Soviet battlefields. Yesterday, with some help from my son, I threw together a quick terrain piece...
The piece disassembles into several pieces(by design, not laziness!)...
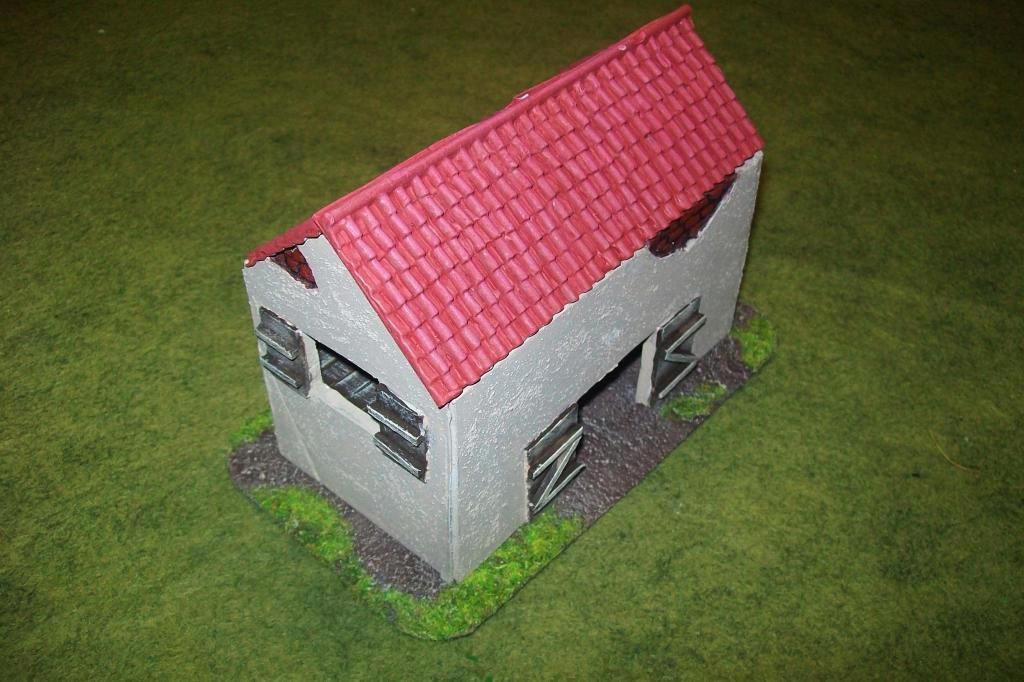
(1) Main Structure: There is a floor inset in the tower so figures can populate the top portion.
(2) Removable Dome Roof: This allows access to the tower and in the future I could swap a Western European style steeple to conver this to a Catholic/Protestant church.
(3) Eastern European style ribbed roof(anyone know the name for this style?). Also could be swapped with shingled roof for a Western look. Not attaching roof also allows figures access inside chapel.
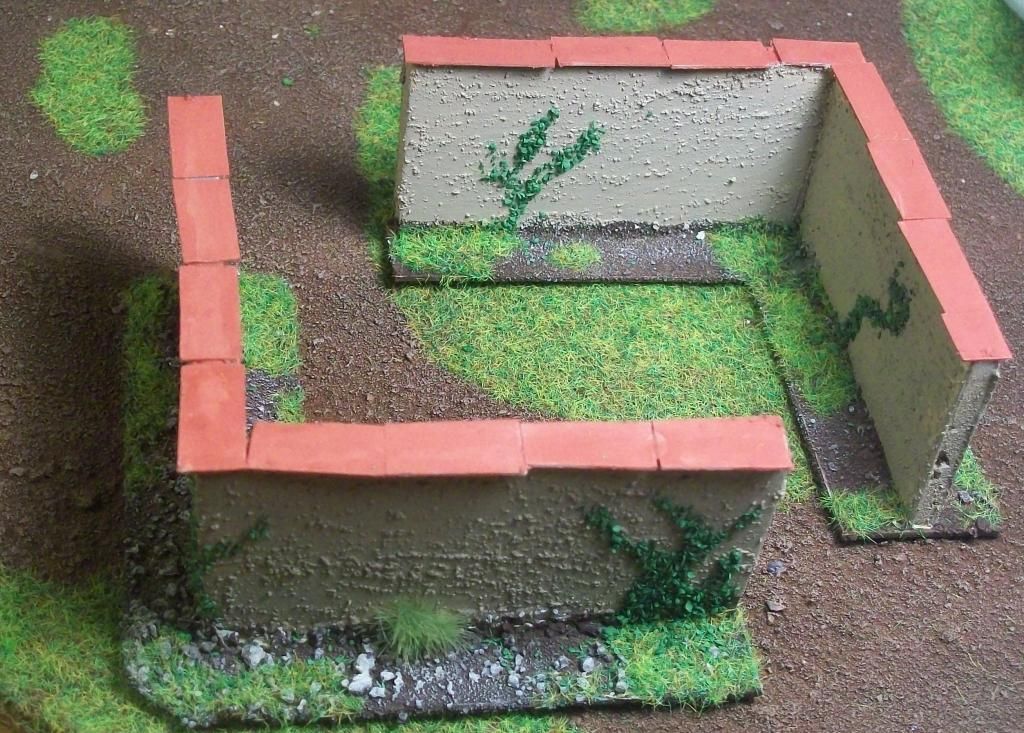
(4) Detachable Base: A growing trend for me...not attaching a permant decorative base so terrain piece can be used on various other terrain types(snowscape and urban settings...in addition to grassy field style shown). The four rectanglar notches are scraps of foamcore which settle the church onto the base. I may later paint the floor a grey to represent stone.
Construction Basics:
The main structure is of foamcore construction....standard fare. In the pics above you can see the pins I have in place while the glue sets. The pinholes they leave behind are easily obscured by the textured paint "stucco" that I add later. The door was carved into the foamcore by removing a half circle of paper on the outside shell and carving the woode details into the foam within.
I struggled with how to model the dome and then I scrounged my bits box and "Eureka!". The larger piece is a wooden ball from Michael's Craft Store with a finial cap(another wooden bit attached). I drilled in a hole in the top piece so I could put an Orthodox cross on top. I left this piece unglued because I have a feeling with the wear and tear of wargaming...it will easily break(but no problem, I can construct a new one in 5 minutes if this ever happens).
The roof is made of matting board(heavy cardboard) with matchsticks framing the structure(I have seen many photos of Eastern European battlefields depicting this style of roof but still can't find the name).
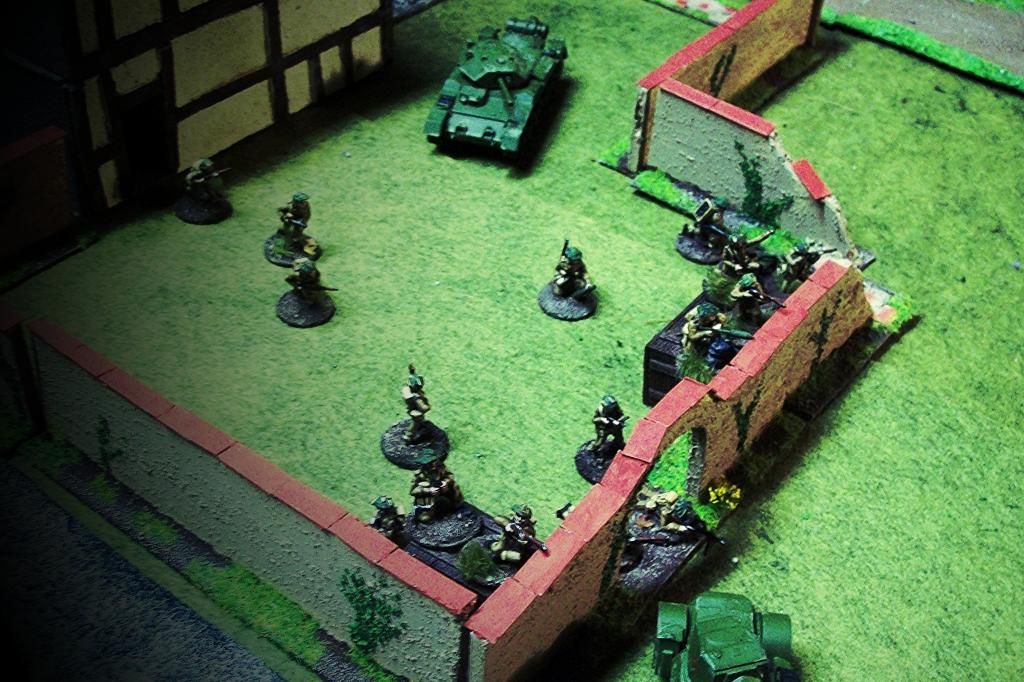
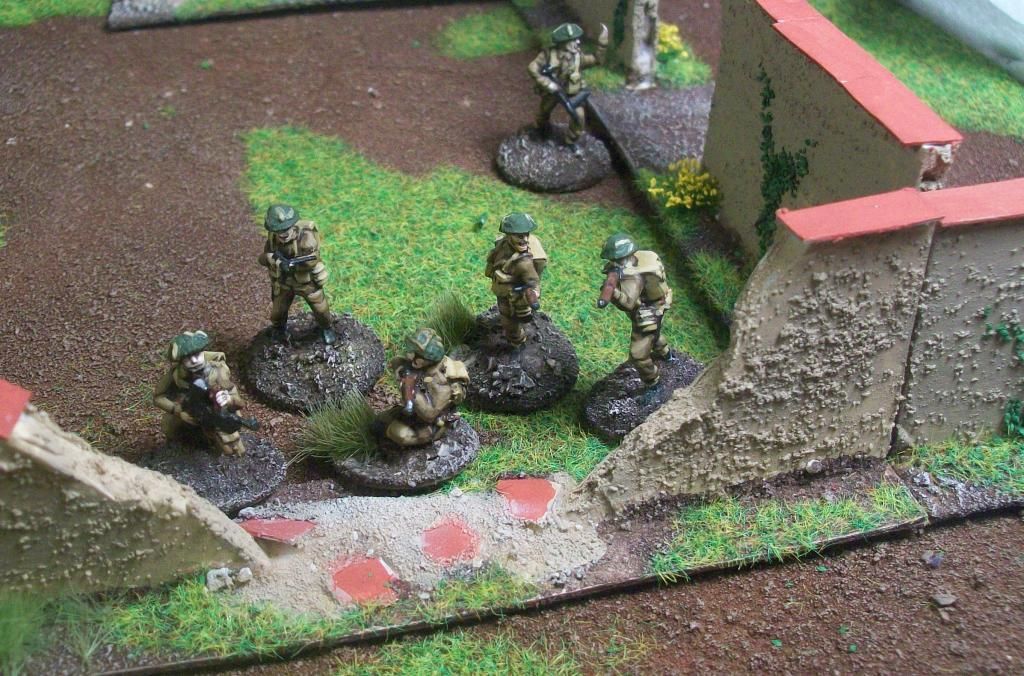
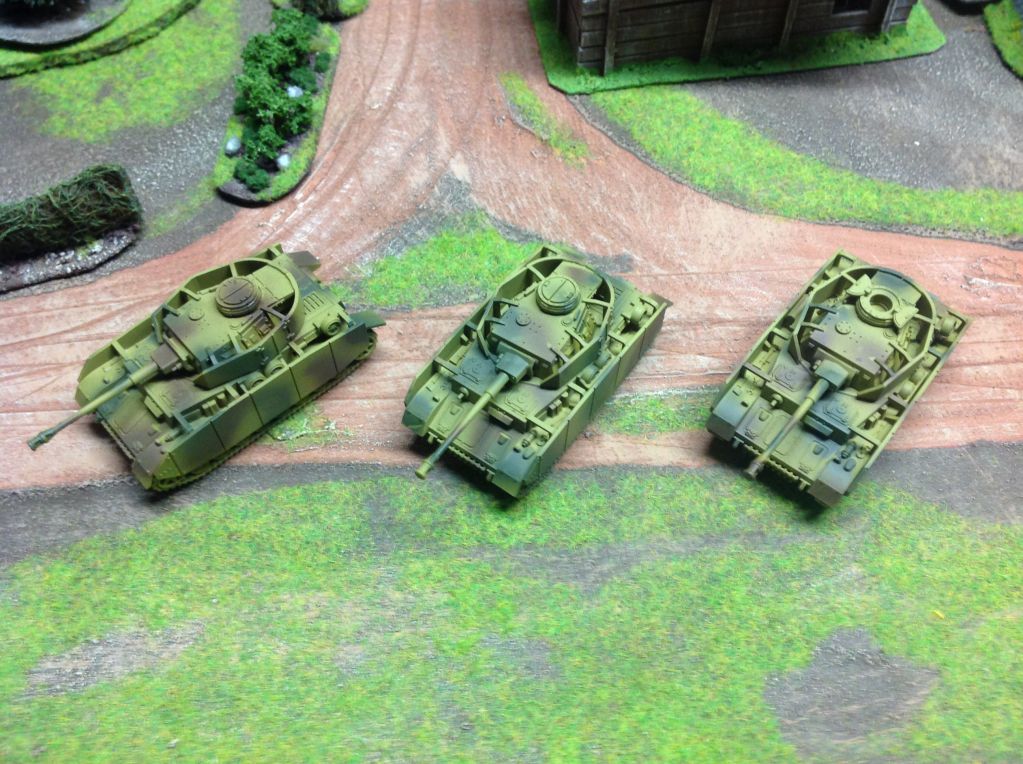
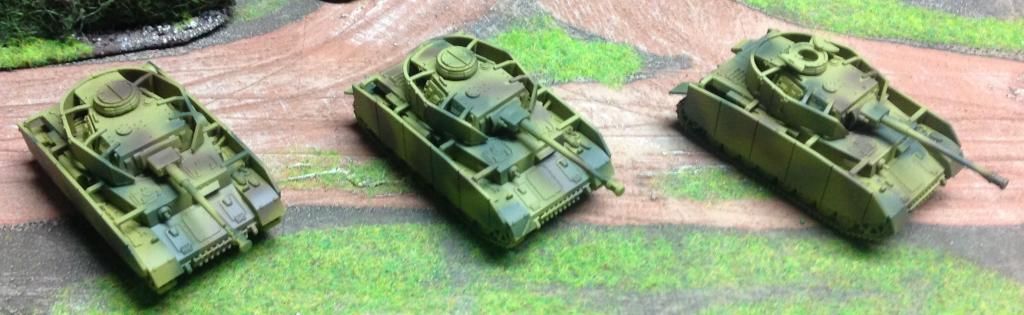
As we speak my son's Soviet forces are destroying my German reconaissance company in the shadow if this very church in a game of Blitzkrieg :-(
Thanks for viewing....happy wargaming everybody!
~Gareson


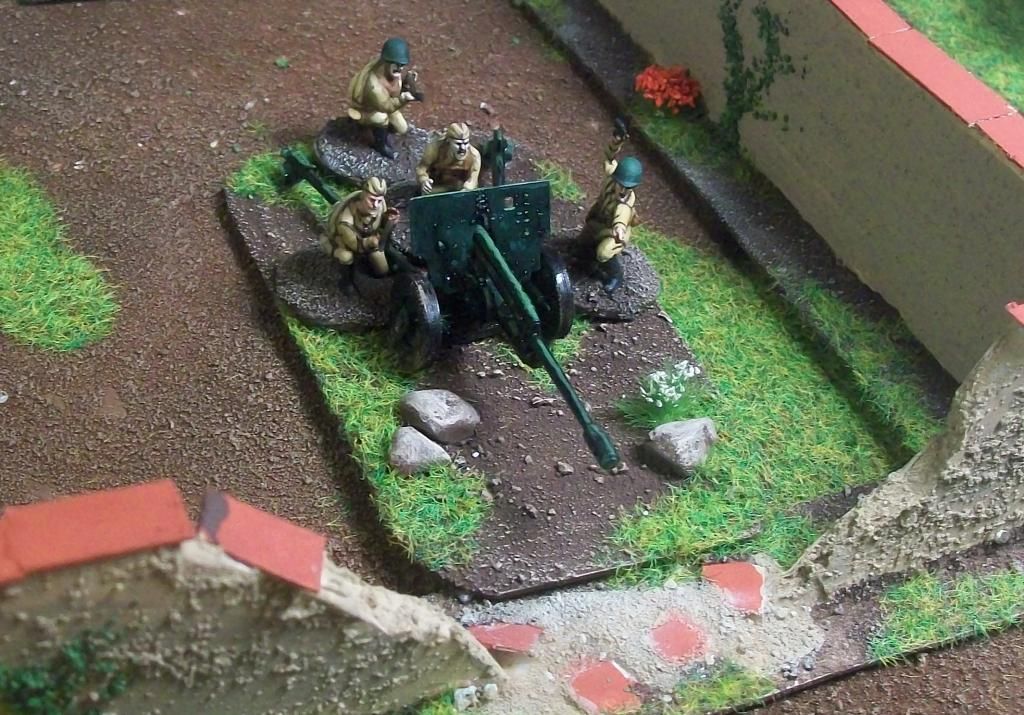
 "1/72nd German Pak 38 anti tank gun")