Friday, August 26, 2011

Product Review: Dark Sword Miniatures Masterworks Painting DVD

This is something I don't usually do with the blog but I know I have some readers who, like me, are always looking to improve their painting and learn a few, new tricks.  Recently I saw the trailer to Dark Sword Miniatures "Masterworks Miniature Painting With Jen Haley and Anne Foerster" 3 DVD set which you can see here...
I ordered the DVD set directly from Dark Sword and it arrived just a couple of days later.  Now I have been a fan of Jen Haley's work for a few years now but I wasn't as familiar with Anne(shame on me!).  To be straight to the point, it's an EXCELLENT DVD set for painters of any level and I can't recommend it strongly enough.

I will break down my review to a quick areas of interest/concern:

Cost: The DVD set retails for $50.  It is a very fair price given that you are getting 3 DVD's that are fairly comprehensive and include many hours of advice and on-screen painting tutorials.  There are many painting tutorial DVD's I have eyed over the internet but have been reluctant to purchase, knowing that the $30-$100 cost could easily buy me a bunch of minis instead!  However, having taken the plunge on this, I am so happy that I did...it definitely delivers everything that it promises.

Presentation:  The DVD menus are easy to navigate and broken into various topics that you can select to see a tutorial one particular aspect of the hobby.  The actual video consists of panoramic shots of Jen and Anne discussing theory and technique, and high resolution close-ups of minis that they are working on.  The lighting, audio and editing are all high quality.  Problematic quirks of miniature painting DVD's like painter's hair in the shot and focus problems are nearly non-existent.   Every technique was clearly presented on the video so that what the artists are trying to convey are clear and crisp.

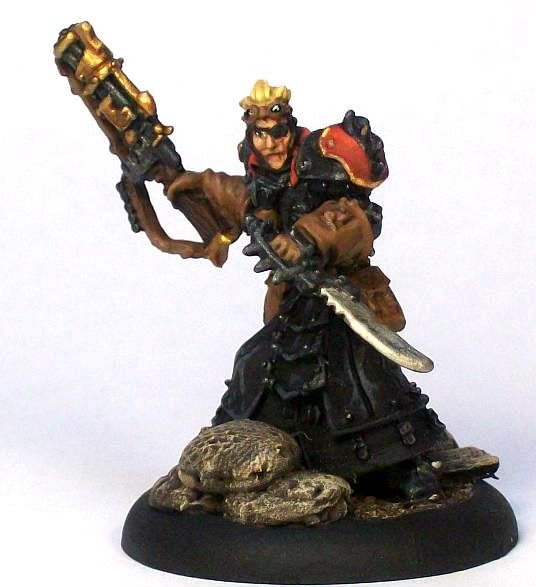
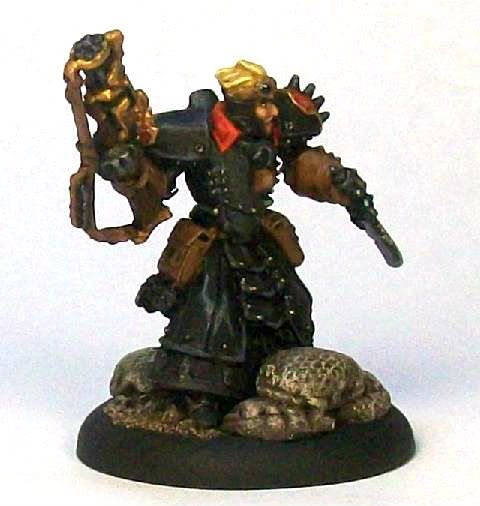
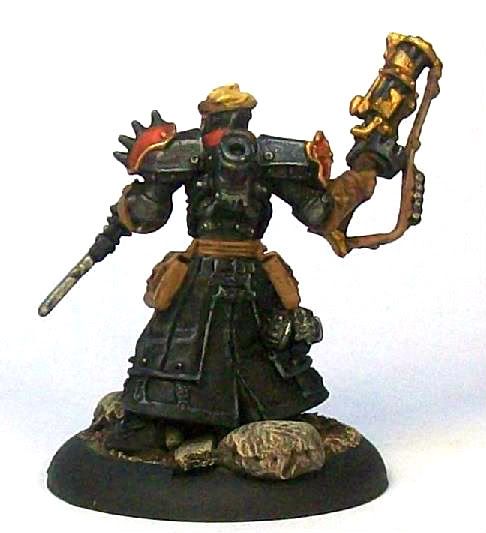
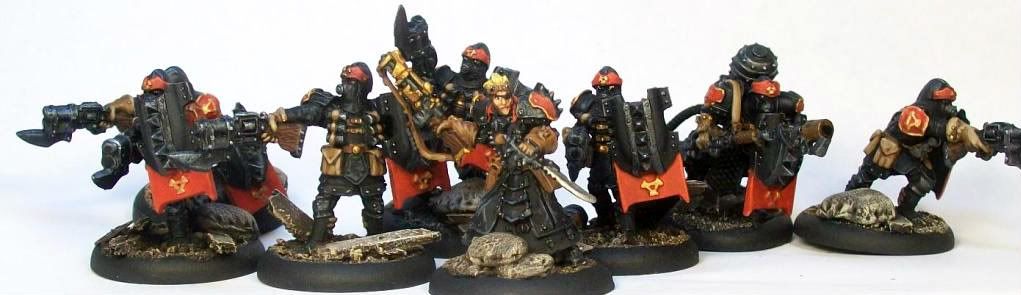
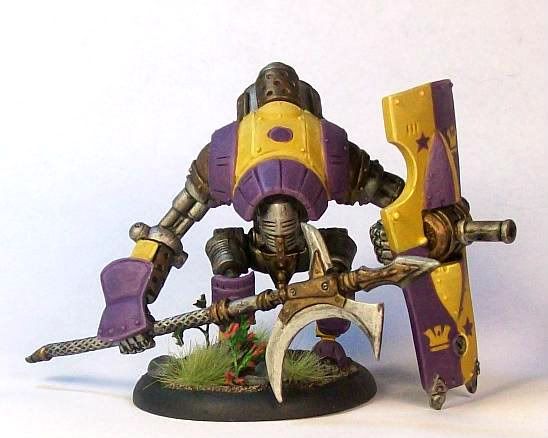
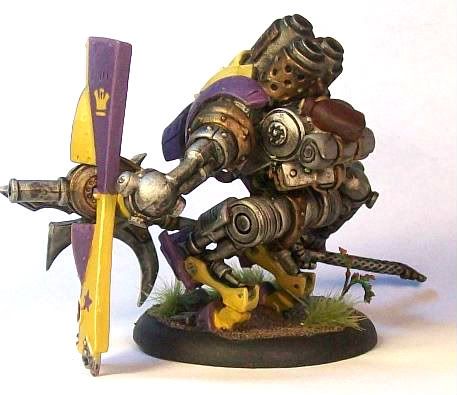
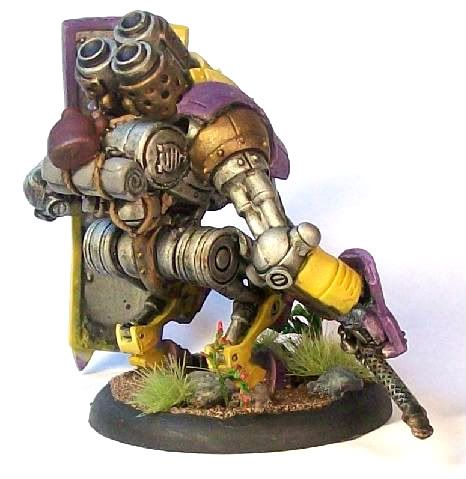
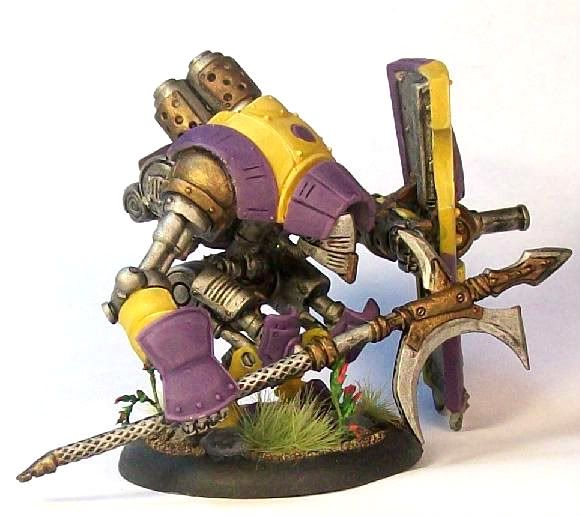
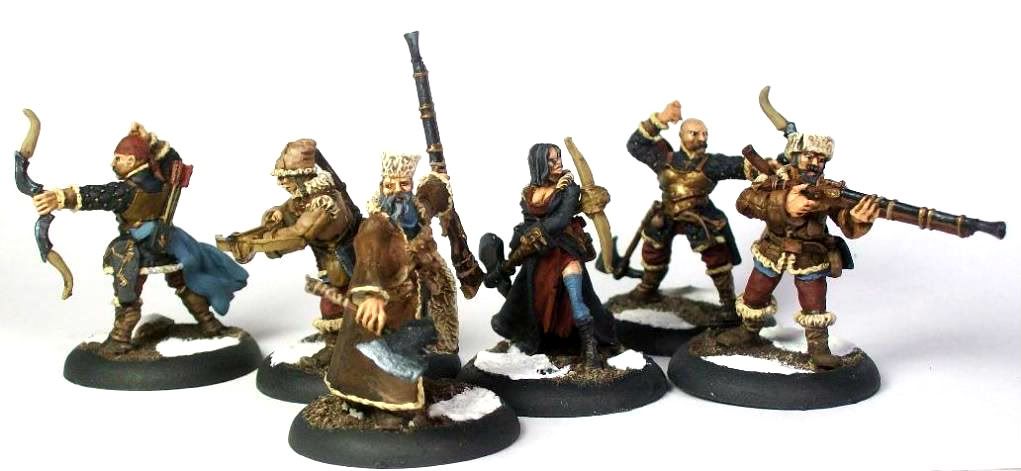
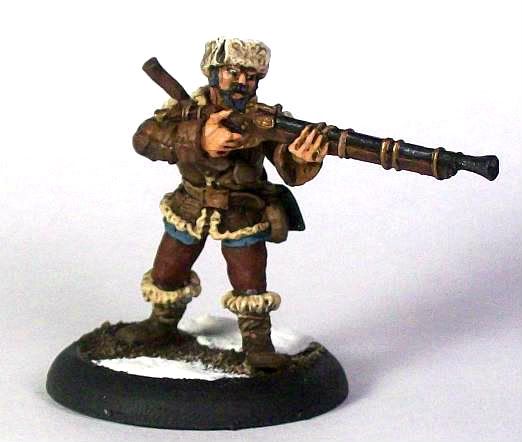
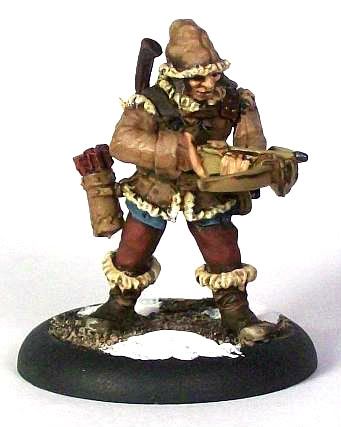
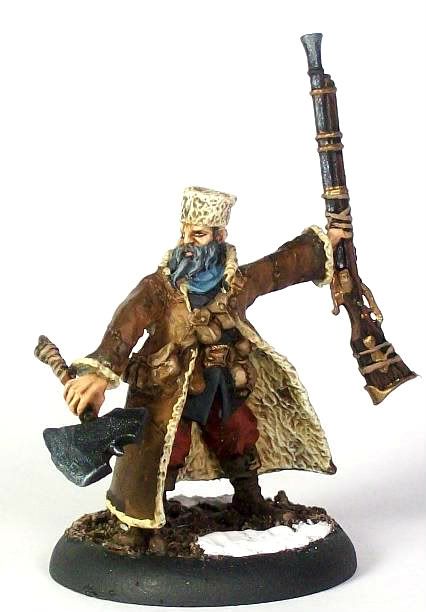
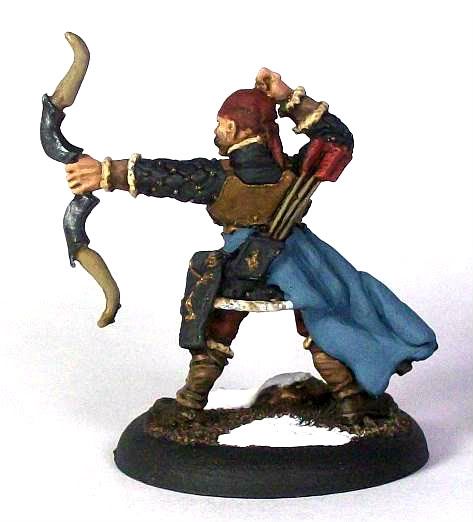
Contents: The wide array of topics covered in the DVD's is impressive.  Many times painting DVD's will be too ambitious and try to cover too many techniques with limited time commitment...this 3 DVD set allows the painters to be comprehensive and giving reasonable time and explanation to the myriad of methods they employ.  You have the whole gambit of pertinent topics here including(to name just a few): Brush & Paint Selection, Shading, Highlighting, Washes & Glazes, NMM(Non-Metallic Metals), Cloth Texture, Color Theory, Problem Colors(White, Yellow, Black, Red), Prepping, Finishing and MANY, MANY MORE!  There is definitely much to chew on here for both novice and veteran painters.

Style:  I love the approach of this DVD.  Instead of just one artist talking you through their approach, there is a great "give and take" between Anne and Jen; this really sets these painting DVD's apart from the rest of the crowd.  The painters convey many times that there is "more than one way" to get nice results...and often they show their different approaches to certain methods.  If you are relative beginner I highly recommend popping in the third DVD and going right to the "Conclusion" chapter where Jen and Anne offer solid advice on one's mindset and approach to the hobby in general. 

Closing Thoughts: This DVD will be a great resource to me for years to come I am sure.  I am someone who has been painting minis for many years, but often feels like he's stalled in his progress and techniques...not quite being able to take things to the next level.  Well, as they say in the video there is no "magic pill" to make one a better painter, or any real shortcuts, but with this tool at my disposal I definitely have no excuses not to improve.  I look forward to re-thinking many methods I use in painting and trying both the conventional, and unconventional, techniques that Anne and Jen teach in the DVD's.  On a side note, my wife and I have been married for 19 years(this Sunday) and we both have hobbies...none of which are in common.  Though she's always been very supportive of my mini painting(which I appreciate!), it was her sitting next to me as I watched these DVD's that made her decide to give the hobby a try...if that's not an endorsement for the Dark Sword DVD set I don't know what is. 

Maybe you are looking for me to rate this DVD...well, the text above make it clear how I feel so the usual cliches all apply: Five Stars, 10/10, "Perfect", etc.

If you have any particular questions about this DVD set feel free to post a comment and I will be sure to reply with details.

Thanks for reading/viewing...
Happy Wargaming Everybody,
~Gareson

Thursday, August 25, 2011

Half Brick Easy Basing Tutorial

I often see, either on the gaming table or the internet, painted minis that are finished up except for basing.  Now of course for the fanciest basing you'll really need to pre-sculpt or integrate the details ahead of time(see some of Adary's great articles on Just the Bases).  However, if your mini is all painted up and glued onto the base, there are still some nice basing effects can you achieve "around" the planted mini.  There's always simple basing with sand(see this article), but one of my favorites is something I call the "Half Brick" or "Ruined Road" effect.  The concept here is that the base depicts a decayed roadway or tiled chamber which has eroded so that earth or dirt covers half of the base.

For this tutorial I am going to use a Daughter of the Flame mini from Privateer Press(Warmachine).  She's all painted up(more or less) but needs a nice base.  Now of course PP bases, as with most miniature companies, are black discs...mine only appears grey because I glued the figure onto the base before I used my grey primer:
In the pic above you can clearly see the indentation where the metal tab on the bottom of the mini inserts into the "slot" on the base.  Obviously our basing effect will need to erase that(which it will).

Step 1: Creating the Brick(or stone) Effect
For this step you can use any number of materials to create your brick material.  You can use Green Stuff(or any two part modeling putty), spackle(filler) or Vallejo stone texture effect.  However, for this tutorial I will use my preferred material: Milliput.
I like Milliput because it is a simple two part putty that is easy to mix, work with, and, most importantly, dries and hardens fairly quickly.  Within a couple of hours of mixing and applying the Milliput you can paint over it(something like Green Stuff would take longer).
I mix up a little bit of Milliput and I apply a small ball to the base on the side where I want the brick.  Now certainly you could carefully work around the mini's feet and do the entire base in 'brick', but again, I'm doing a "Ruined Road" style.  With your finger and/or the flat side of an x-acto knife blade, work the Milliput into a flat shape that covers roughly half the base.  I would suggest wetting your fingers or knife blade with a little water because the Milliput is a little tacky.
You'll notice that I've not completely covered the slot on the base; this is not a problem because our sand texture will take care of that later.
Now I take my x-acto knife and cut vertical lines in to establish the rows of bricks...making the lines roughly parallel and equidistant from one another.  Try not to push too hard all the way to the base as you carve these lines as you could cause the Milliput to shift and separate...just gently scribe in the lines.
Now I have gone back with the knife and etched in the horizontal(well really they are at a 45 degree angle in the photo) lines to create the separate bricks of this road(or chamber floor).  At this point the brick effect looks pretty good but to create a little more of a rough stone or weathered effect...
I use and old drybrush and lightly stipple indentations into the Milliput surface.  I can also make larger dents, or even cracks, with the x-acto knife.  The photo doesn't show it on this bright Milliput, but there are some nice surface irregularities that will show up layer with a wash(see below).

Step 2: Painting the Bricks
Painting the finished bricks is easy!  Now usually when I am doing this type of basing I depict grey stone or red bricks, but for this mini I want something that looks somewhat more arid as is the setting where you'll often find the Protectorate of Menoth units operating so I will be working with tan.
After a couple of hours after applying the Milliput(with a little help from hot lamps), I basecoat the brick surface with Reaper's Tusk Ivory from their HD series of paints(any light tan would do the same thing).  The wet paint above is not very visible, nor are the brick details, but we'll fix that with the next step.

After the basecoat is completely dry, I thin down(with water) some Sepia Ink from Vallejo's Game Colors line.  I generously apply this over my bricks and make sure the entire surface gets this wash.  The details in the bricks are starting to pop now...including the irregularities that we stippled in.  You could go back and drybrush on your basecoat color to highlight the raised details(or even line/block in some shading), but we'll keep it simple here.  Of course if you were simulating grey stone bricks I would suggest a light grey basecoat followed by a black wash. 

Step 3:  Sand Texture 
Well, as this is a "Half Brick" base effect we need to do something with the other half.  We're going to apply a simple dirt texture using sand.  For a thorough tutorial on this simple basing technique you can see this article(which includes a video).  However, so we can be thorough here, let's do a quick walkthrough....
After the brick "wash" has completely dried, take watered-down glue(or Mod Podge is my preference) and apply it to the other half of the mini's base. Make sure you not only cover the entire non-brick side, but that you overlap a little and apply some adhesive over the edge of the brick(as shown above).
Dip your miniature in sand, blow off any loose grit, and now you have texture on the other half of your base.

Step 4: Paint the "Dirt"
After your sand has dried you can quickly paint it up to look like dirt.
I use a simple approach of  (1)Dark Brown Basecoat (2)Dark Tan Highlight and a (3)Light Tan Highlight.  In the pic above you can see the three particular paints I used(P3 Battlefield Brown, Beast Hide and Menoth White Base)...but any substitutes would work just as well.  The highlights were simply applied used dry-brushing to bring out the texture of the sand(dirt). 

Step 5: Paint the Base Lip
Well, with all that Milliput, sand and paint, the lip of your base needs to be cleaned up to finish your model(especially as mine was primed grey as previously mentioned).  At this point you want to find a nice black(I like Reaper Pro Series Faded Black) and paint the lip or round edge of your base.  It's not shown here, but I attach my mini to a temporary stand(poster putty on top of an old paint pot) so I can get all around the base neatly.

In the end, here is the final effect...


Now the tutorial above may make this seem like a long process but to be honest it is quick, easy and painless.  I personally think its a great way to give an already painted and mounted miniature a respectful base with a little something beyond just dirt texture.  In the end you could add a little foliage or moss to the base...but I like the simple, desolate look of the base as is in most cases.

 ***Update***Here are links to a three video tutorial put together illustrating the effect above(double click on the embedded videos to enlarge them)...
 I hope you found this tutorial helpful and can make use of it in the future...thanks for reading/viewing!
Happy Wargaming Everybody, 
~Gareson

Monday, August 22, 2011

Warmachine Battle Report: Shooting Gallery Showdown(Khador v Cygnar 40 pts)

My son, Gareth(a.k.a. GDogsDog) usually beats me in our Warmahordes showdowns...and today was no exception.  I was able to talk him out of his favorite army(Cryx) so we could change things up a bit...but it didn't change the outcome. 

Pre-Game-Here is a breakdown of our staring forces and deployment:
Cygnar(Gareson) in Blue, Khador(GDogsDog) in Red, Mercs in Green and Orange
Key Terrain Points- 1&3: Rocky Outcroppings(Rough), 2: Forest, 4: Shooting Gallery(Rough)
My Battlegroup Center
Cygnar(Gareson) 40 pts in blue above...
Left Flank: Trenchers & Trencher UA(T), Rhupert Carvolo(R), Grenadier(G)
Center: Alister Caine(A), Ironclad(I), Lancer(L), Hunter(H), Squire(S)
Right Flank: Charger(C), Journeyman Warcaster(J), Gun Mage Captain Adept(G)
Army Observations: I(Gareson) like surgical strike mixed forces...so I brought a bunch of agile lights and toolbox models.  I was risking running a fragile force against his Khador heavies, but hoping for a warcaster assassination opportunity.
Gareth's Center and Left
Cygnar(GDogsDog) 40 pts in red above...
Left Flank: Irusk(I), Destroyer(D), Juggernaut(J), Mule(M), Dirty Meg(D)
Center:Kodiak(K), Man o' War Kovnik(M)
Right Flank: Valachev(V), Croe's Cutthroats(C)
Army Observations: Gareth(GDogsDog) likes "heavies", and his force selection certainly reflects this...bringing four heavy jacks in a 40pt game reflected his "big stick" approach:
My Right Flank Diversionary Force
Early Game: Winning initiative, my first thought was to get to cover(I know the range and power of his heavies!).  My trenchers, with a Grenadier light 'jack in tow, as well as the musical stylings of Rhupert Carvolo(THE Piper of Ord) moved towards a grove of trees(2).  I dug-in early hoping to anchor my left.  Meanhwile, main battlegroup moved into a rocky outcropping for cover(3) while my right flank advanced into the Cygnarian Shooting Gallery(4).  I knew my Charger and Journeyman 'caster were no match for what he was sending my way on my right, but I had to try to divide up his heavies by splitting my forces. 
Mule paves the way with GDog's battlegroup close behind.
GDog pretty much moved as I thought he would early game, with Croe's Cutthroats moving into rocky cover(1) and his main battlegroup moving towards my Charger at the shooting gallery(4).  However, early on I noticed his Kovnik and Kodiak moving there as well which I wasn't counting on(as the old military axiom says "No great plan ever survived contact with the enemy"). Early on things went poorly for me on the right...I expected to take a beating there with my little Charger but I needed to pin him there longer so I could maneuver in my center for a counter-strike.  As it happened, blast damage attacks from his Mule and Destroyer took out my Gun Mage on turn 2 and wounded my Journeyman!  I hated to do it, but I moved my Journeyman to my center, knowing the right was already lost.
 
Mid Game: By turn three it was clear that things were already going poorly for me. My right flank diversion had turned into a disaster and all I had to show for my feint was a shredded light jack and two k.i.a. solos.  More importantly, Irusk was tightly protected by a train of four heavies as GDog had shifted his Kodiak to that part of the field as well.
My Charger is in trouble!
My Charger fought valiantly to the end, but the tide of enemy heavies was too much for it to hope to hold against.
Trencher smoke cover.
On the left flank my trenchers used smoke bombs to shield attacks from the "stealthy" mercs opposite me.  The only real bright spot of this stage of the game for my Cygnarians was my Hunter light 'jack who got off a few pot shots(using Caine's Snipe spell) at Gareth's Destroyer, doing some serious damage with his armor piercing gun. 
GDog owns the shooting gallery.
While my Charger was intact this worked for me,  but once it was gone, his Mule and Destoyer turned their "full attention" to my Hunter.  This wasn't so bad(blur was cast on my Hunter and it was in cover) until drifting misses started crashing down beyond my Hunter...taking out my Squire and Journeyman Warcaster(so much for moving him to safety). 
Late Game:  Gareth's blast damage assault on my center having further deprived me of forces meant that I was going to have to pull off something tricky to win.  At this point he was already moving in with his heavies on my right flank...if he advanced to far, too fast, I might get a shot off at Irusk!
My Trencher force pushes out, hoping for a shot at Irusk(right).
I advanced to the center with my Trenchers, the Grenadier and Rhupert, hoping to flank Irusk.  Even if Gareth moved to block me, he would likely be splitting his assault force to do so, so I further enticed him by engaging with what was left of my battlegroup.
I have his attention!
Now certainly my Trenchers paid for their advance into the open...his heavies(and Croe's coming from behind) decimated my infantry!  However, I had a brief opportunity...the assassination attempt I was hoping for!
My Hunter has line of sight to Irusk!
My Hunter moved back in for a shot at Irusk, his heavies divided between my Trenchers and my engaging warjacks(led by the Ironclad).  GDog is usually VERY protective of his 'casters, so I knew this was likely my one opportunity.  I boosted my attacks with spells and focus, but the Hunter missed repeatedly!
Irusk out of danger...not so much my Ironclad.
Now aware of the danger, GDog tightened up around Irusk.  In the meantime, his Kodiak and Juggernaut had dismantled my Ironclad. 
The End...
End Game: With very little left to fight with, I did my best, but GDog's largely intact army pounded away at my remnants until Caine himself ran out of room to run! 

After Battle Conclusions: Gareth brought a broadsword and I brought a stiletto.  If I was going to win, I had to find an opening and strike swiftly at the right moment or his raw power would overcome me.  The latter happened.  I was hoping for a better opportunity for assassination than my Hunter strike later in the game, but Gareth did a really good job of keeping his guard up.

Bested by my son..once again!(but it was fun!)  I'd love to say I taught him everything I know...but honestly...he's just good!

Epliogue:  Ironically, look at just what arrived in the mail!...
A little late!

Thursday, August 18, 2011

Strakhov: Necessity is the Mother of Invention

That's right, necessity is the mother of invention.  I was reminded of the old axiom when I screwed up painting this miniature!  I'm sure I'm not alone...but I find that eyes are a challenge to paint(especially on a certain squinty-eyed Khadoran warcaster).  The point of no return on a mini is about my fourth attempt to fix an eye...because after painting over the eye sockets 2-3 times you've built up enough paint that you've got a "bump" there and it won't look right...which means stripping the whole mini of paint and starting over.  Well that happened with Strakhov, but I didn't want to start over as, unlike usual, I'd already painted about 1/2 the mini before getting to his face.  So I modded him mid-stream...suddenly that left eye got a "green stuff" patch and the scar was lined more vertically to match an eye wound.  In the end...I like it! 
(click on images for larger pictures)
The other change I made to Viktor Strakhov(besides the eye patch) was to give him dirty blonde hair(as opposed to gray)...I just envisioned him a little younger in appearance than he is usually depicted. 

His paint scheme was a dark "black ops" version...he was meant to match my Khador Kommandos(he also got the "ruined trench" basing treatment).  In fact, here is with his comrades...

Thanks for viewing...Happy Wargaming everybody!
~Gareson

Wednesday, August 17, 2011

Vanguard Bodyguard

When I purchased this model months ago it was my intention to give it a Khadoran paint job and give to Zerkova(allowed under one of her army lists).  However, in the end, my Llaelese sympathies drove me in a different direction.  Most of my mercenary 'jacks are fairly muted and plain in appearance...appropriate for irregular warmachines maintained by knives for hire.  However, I decided that Ashlynn deserved a special warjack for her Highborn battlegroup...so I gave the Vanguard a Royal Llael paint scheme based on the heraldry on Ashlynn's portrait in the Mercenaries Forces book.  My 'fluf' is that this is Ashlynn's personal bodyguard warjack...and great care(and cash provided by Cygnarian agents) is taken to keep it's paint job fresh, as it is an important symbol of her resistance movement.  Here is how it came out...
The designs on the shield were challenging...as freehand is not my strength. However, I had a vision of what I wanted, and I decided to work 'outside of my box' in order to improve a weakness.  One thing I am happy with is the shading on the warjack...though subtle, it represents a patience I don't usually have for using ultra-thinned-down paints.  It took 7-8 basecoats(each) of purple and yellow...because I knew to get those light shades to look right that I couldn't cut corners. 

Thanks for visiting!
~Gareson

Monday, August 15, 2011

Kossite Ambush!

Recently finished a unit that was not a chore to paint! Painting commonly uniformed troopers can get a bit monotonous...ask any mini painter!  However, these Kossite Woodsmen, Khadoran auxiliary troops, were a pleasure to finish up....that's the beauty of irregular troopers: a mix of attire.  These models were largely speed-painted, so details might have suffered a bit...but a few washes and dry-brushing strokes seemed to have made them tabletop ready!  I'll let you be the judge...
(click on images for larger pictures)
Group shot...
Individual pics...


Now I found a little silly that the set of minis had 5 poses for 6 minis(4 original, 2 of the same(the archer above)).  I decided to slightly mod the archer pose with some green stuff to add a bandana and a cape(so at least the 'twins' look a little different from each other)...
So there they are, ready to ambush from the table edge!  For a snow-basing tutorial(which I used on the figures above) see my article on the "Just the Bases" blog